So, you want to make the magic of summer fruit last all year long? We’ve got a fun and super easy trick for you—no canning required. Try homemade freezer jam! It’s like capturing sunshine in a jar. And the good news, making freezer jam is a breeze so you can enjoy those juicy, fresh flavors long after summer has faded. Stuck with us and we’ll walk you through each step. Ready to dive in? Let’s do it!

1. Pick Your Summer Fruit
Start by selecting ripe, fresh fruit for the best flavor. Strawberries, raspberries, blueberries, and peaches are popular choices. Just make sure the fruit is at its peak to ensure the jam tastes delicious and has a great texture.
2. Wash & Prep
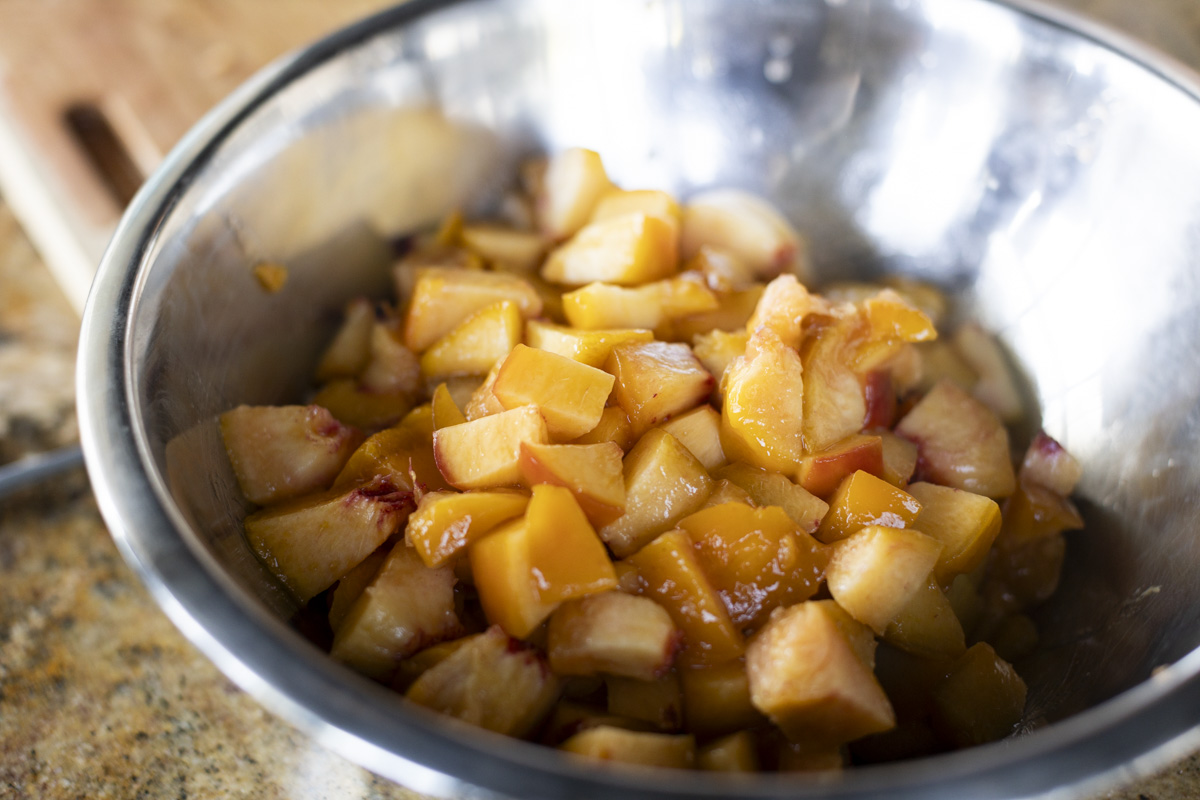
Thoroughly wash your fruit under cold water. For berries, remove any stems or leaves. If you’re using larger fruits like peaches, peel them if desired, and chop them into small pieces. We absolutely love this little paring knife. For smoother jam, you can mash or puree the fruit using a blender or food processor to the consistency you like best.
3. Measure
For most freezer jam recipes, you’ll need about 4 cups of crushed fruit. So mash it up and use a measuring cup to make sure you have the right amount for your instructions or recipe.
4. Prep Containers
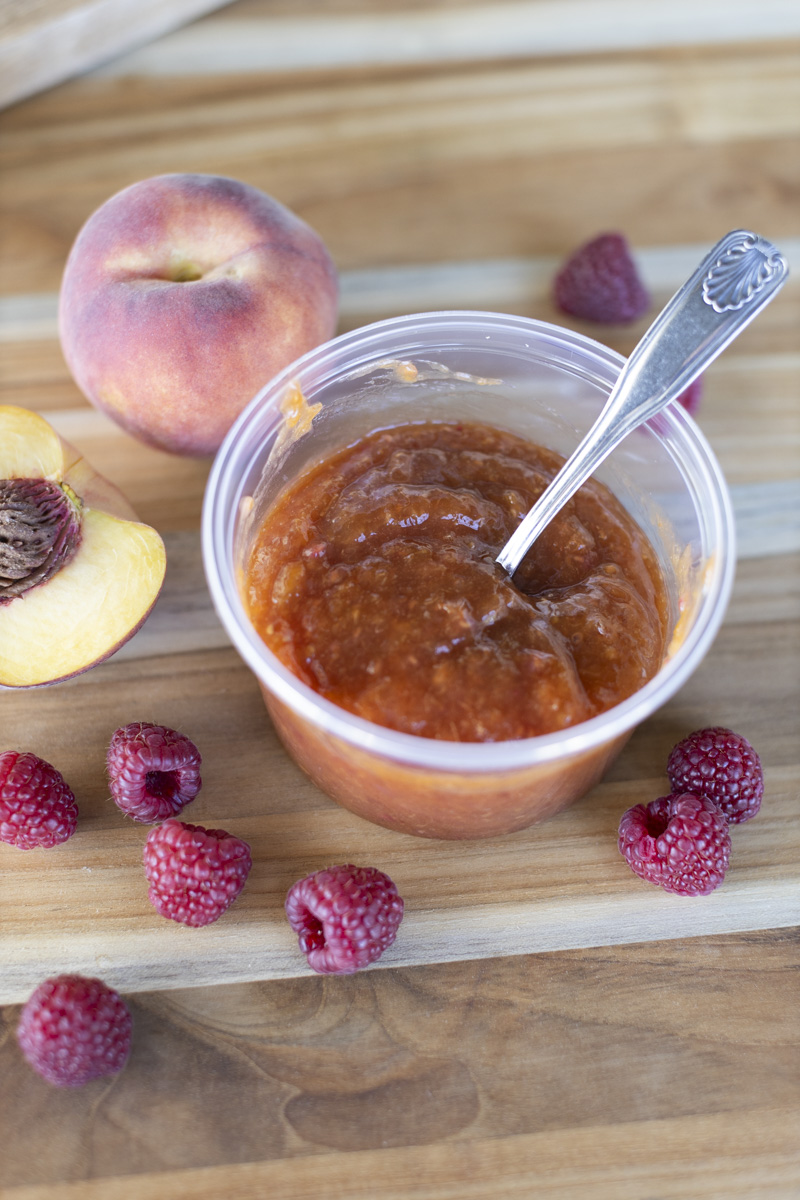
Choose containers suitable for freezing, such as plastic freezer jars or heavy-duty freezer bags. We decided to use 160z. deli containers with lids. Ensure they are clean and completely dry before using. Leave some space at the top of each jar or bag to allow for expansion as the jam freezes.
5. Mix in Sugar
In a large bowl, combine the measured fruit with granulated sugar. Stir well to ensure the sugar is evenly distributed. Let this mixture sit for about 10 minutes, allowing the fruit to release its juices and the sugar to dissolve a little bit.
6. Add Pectin or E-Z Gel
Pectin is a natural thickening agent that helps the jam set. Follow the instructions on the pectin package—usually, you’ll need to add it to the fruit-sugar mixture. Stir it in thoroughly to avoid lumps. Some recipes might use liquid pectin, while others call for powdered pectin. Not ready for pectin? There’s this amazing product called E-Z Gel. It’s a great way to get that perfect jam consistency and is easy to use. We weren’t sure if it would work for homemade freezer jam, but it was great!
7. Stir Mixture
Once the pectin or E-Z Gel is fully incorporated, stir the fruit mixture for about 3 minutes to ensure it’s well combined and starts to thicken. This step is crucial for achieving the right consistency.
8. Fill Containers
Carefully ladle the jam mixture into your prepared jars or freezer bags, leaving about 1/2 inch of space at the top. This space is necessary for the jam to expand as it freezes. Wipe the rims of the jars with a clean cloth to remove any residue.
9. Seal & Label
Seal the jars or bags tightly and label each container with the date and type of jam to keep track of what you have. You can use a simple marker or adhesive labels.
10. Freeze & Enjoy
Place the sealed jars or bags in the freezer. Allow the jam to freeze for at least 24 hours. Once frozen, your freezer jam will keep for up to a year. When you’re ready to enjoy it, simply thaw the amount you need in the refrigerator.


Quick Tips for Success
- Use High-Quality Pectin: Different brands of pectin may have varying instructions. Follow the specific directions provided to ensure the best results.
- Avoid Overcooking: Freezer jam doesn’t require cooking, so you retain the fresh fruit flavor and color.
- Test Consistency: If you prefer a thicker jam, you can add a bit more pectin or let it set longer before freezing.
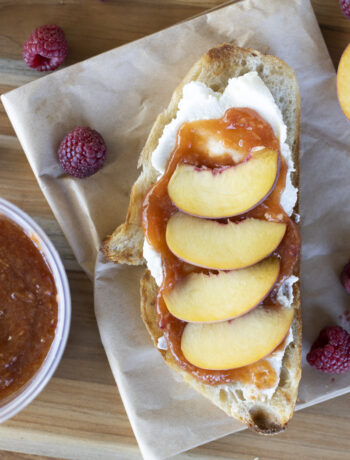
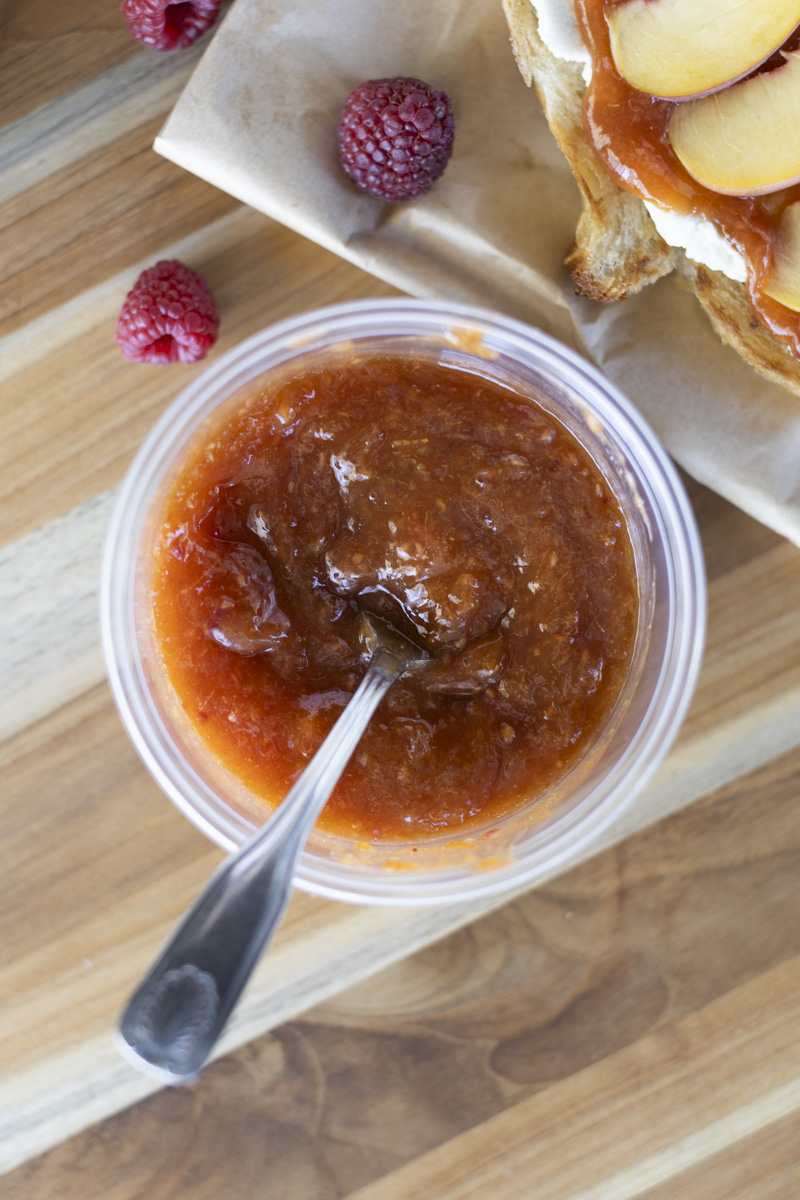
Making homemade freezer jam is an easy way to preserve the taste of summer fruits and is a fun project that doesn’t require special equipment. With just a few simple steps, you can create a delicious homemade jam perfect for spreading on toast, adding to desserts, or gifting to friends and family. Just remember, once you defrost your jam you will want to eat it within two weeks. And savor the fresh flavors all year long!