As the holiday season rolls around, the age-old question arises: how will I cook a perfect Thanksgiving turkey? This iconic centerpiece for the meal can feel intimidating. But it doesn’t have to! You can impress your friends and family with a deliciously cooked turkey that is both juicy and flavorful. To help you, we will explore our top three methods for cooking a turkey: traditional oven-roasted, spatchcocked, and smoked.
Each method has merits and we will break them all down in this quick guide. Here we’ll provide practical tips and insightful tricks that will give you the confidence to tackle this culinary challenge. With a little creativity and the right approach, your turkey will be the star of the feast. So now that your turkey is thawed and brined, roll up your sleeves and tie on that apron. We’re about to dive into cooking that big, delectable bird.
Now, the first thing we want to address is temperature. Knowing the exact internal temperature of the meat is so important, no matter which method you choose. This is how you know when your bird is done. DO NOT rely on the pop up thermometer that comes with the bird, because those can be faulty. Instead, use a leave-in digital thermometer or an instant-read thermometer in the deepest part of the breast and thigh meat to help you check and keep track of those internal temperatures.
This is where the ChefAlarm from Thermoworks really comes in handy. You can set the high temp for your alarm, put the turkey in the oven or smoker, and then roast away while it keeps a real time account. And when the turkey reaches that set temperature, you can pull it out and check different parts of the bird to make sure you don’t see a temperature lower than 155℉.
If you don’t have a trusty ChefAlarm, we suggest checking the internal temperature about three-quarters through the estimated cook time. Then check again every 10 minutes. Once you don’t see a temperature lower than 155℉ you can remove the turkey from the oven and let it rest for about 15-30 minutes before carving. This is important! Here, the carryover heat continues to cook the turkey until it reaches the final temperature of 165℉ while also allowing the moisture to redistribute throughout the meat as the fibers relax. Only then are you ready to carve and enjoy this beautiful, tender, juicy bird alongside all your favorite side dishes. Let’s get to it!
Option 1 – Traditional Oven-Roasted Turkey
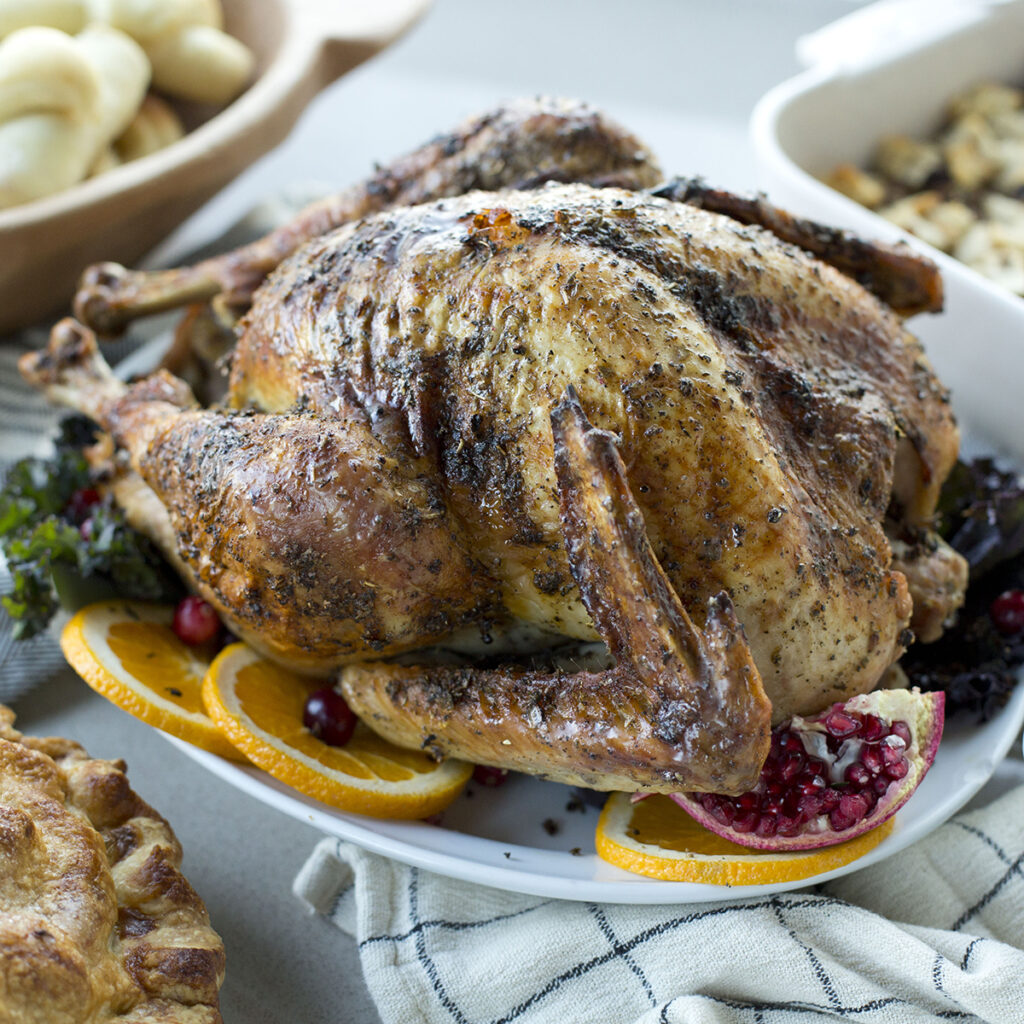
This classic way to cook a Thanksgiving turkey has graced tables for generations and is still the turkey of choice for many family gatherings. It’s beloved for its simplicity as well as its magazine-worthy presentation. If classic turkey is a main staple for your Thanksgiving Day table, this is the method for you.
How it Works: The traditional turkey can be stuffed or unstuffed and it’s usually seasoned and then roasted for a few hours in a preheated oven. A common temperature range is 325°F to 350°F and the cooking time is typically 13-15 minutes per pound. So that’s about three and a half hours for an average sized turkey.
For traditional roasting, we highly recommend preheating the oven to 500℉. Then pat the skin dry, rub it with canola oil or butter under and on top of the skin, and season. Place the turkey breast side up on a cooling rack inside of a half-sheet pan. Truss the legs and tuck the wing tips under the bird. Proceed to roast at 500℉ for about 30 minutes, undisturbed. Just when skin starts to brown, shield the bird with a double thickness of heavy-duty aluminum foil and reduce the heat to 350℉. Finish cooking your turkey at the lower temperature until no part of the meat is lower than 155℉. Remove from the oven and allow the turkey to rest lightly covered for 15 to 30 minutes. Carry over heat should continue to cook the turkey until the deepest part of the breast reaches 165℉. Then you are ready to carve and serve.
Pros
- Familiar flavor: For so many, this method highlights the rich, savory taste of the turkey which is the flavor they have come to associate with the holiday.
- Beautiful presentation: The globe shaped bird with golden brown skin is a feast for the eyes on any dinner table.
- Aromatic: The enticing smell of a roasting turkey is a quintessential part of Thanksgiving Day.
Cons
- Longer cooking time: Depending on the size of the bird, cooking a traditional turkey in the oven can take several hours (especially if you decide to stuff the bird).
- Potential for dryness: You have to monitor the turkey closely, otherwise the meat (especially the breast) can dry out.
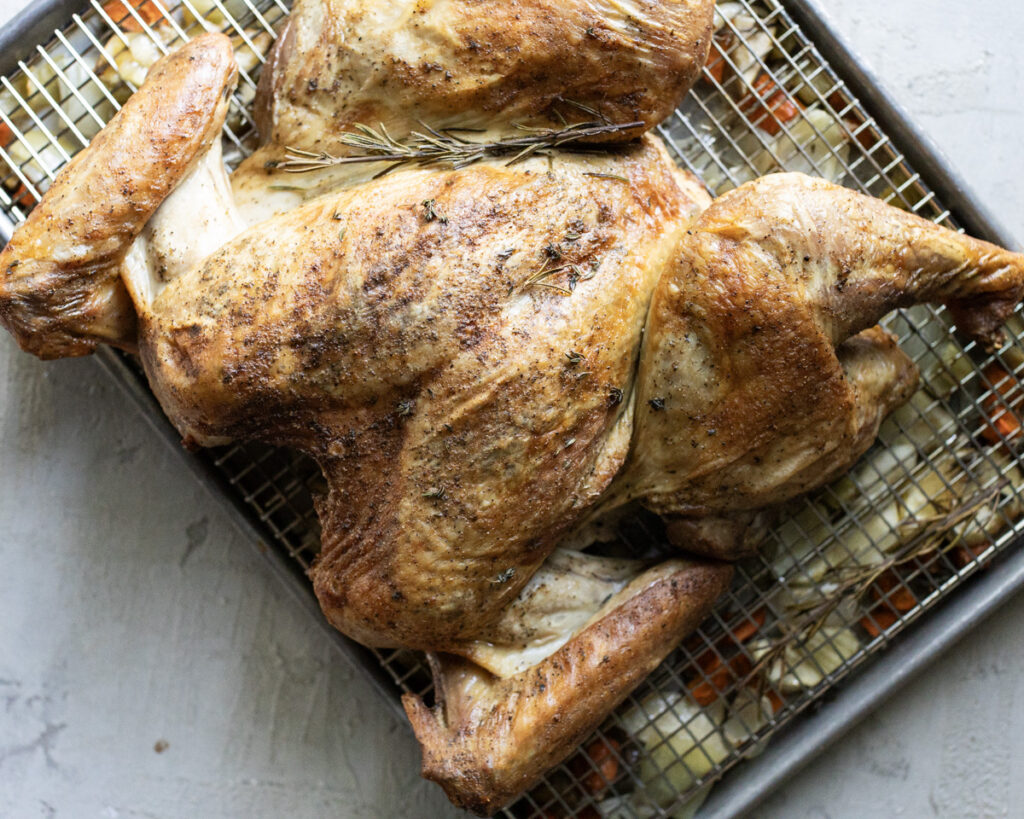
Option 2 – Spatchcock Turkey
Looking to save some time while still achieving that crispy skin and juicy meat? Then you want to give this method a try. It’s a game-changer, especially for those making the turkey for the first time. You can still achieve all the hallmarks of a perfectly roasted turkey, but in record time and with a far greater likelihood of success.
How it Works: Spatchcocking involves removing the backbone and flattening the bird (see the full steps in this blog post). This exposes the turkey more evenly to the heat so it cooks quickly. With the turkey flattened it can roast at a higher temperature (around 450°F) for only about 6-8 minutes per pound. That equates to just under two hours of cooking time for an average-sized turkey.
To cook this Thanksgiving turkey, preheat the oven to 425°F. If you didn’t dry brine it beforehand, season your turkey well with salt and pepper. Then mix up a compound butter with some minced herbs and spread it around under the skin. Melt down the remaining compound butter and pour it over the top, rubbing it into the surface. Slice some vegetables, an apple, and a lemon in ¼” slices and line the bottom of a half size baking sheet. Place the cooling rack over the veggies and put the turkey on the rack. Arrange the wing tips so they look relaxed and the legs so they cover the thin parts of the breasts. Roast until none of the meat is lower than 155°F. Remove from the oven and allow the turkey to rest 15-30 minutes before carving.
Pros
- Saves time: This is the biggest reason most people choose to spatchcock their turkey. It can cut cooking times by more than half.
- Crispy skin: Because the flattened bird has more surface area exposed to the heat, you get more crispy skin, all golden and savory.
- Moist meat: Cooking at a higher temperature for a shorter time will lock in those juices. No more dry breast meat!
- Drippings & gravy: So many would argue a spatchcocked bird means fewer drippings, but that’s not true. As you cook it, the juices and butter just drip down into the tray instead of the bird’s own cavity. And not only can you make a better stock from the neck, giblets, and backbone, but also a better gravy from the contents of that bottom tray.
Cons
- Requires some skill: You need to be comfortable with a sharp knife and kitchen shears in order to flatten a turkey. And you can’t be squeamish about handling the raw meat while you press it flat.
- Non-traditional appearance: The most common complaint about spatchcocking is the turkey “just doesn’t look right.” Sure, a spatchcocked turkey will not have the traditional holiday look that many guests are accustomed to. But it’s still totally delicious!
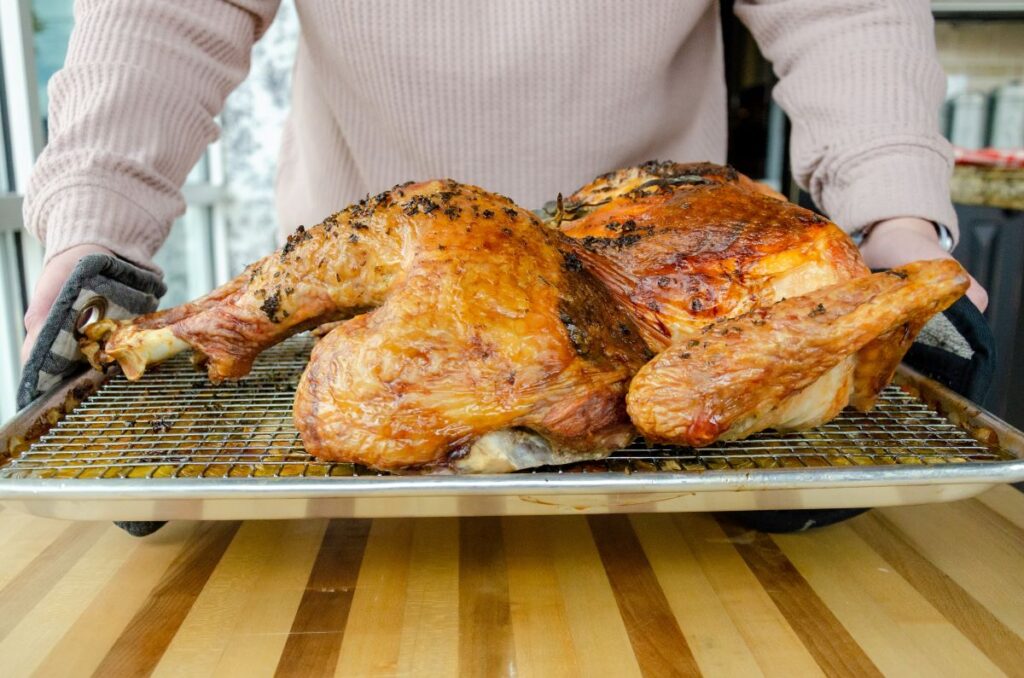
Option 3 – Smoked Turkey
Looking to open up some oven space on Thanksgiving Day? We sure are. So why not streamline the process and take the turkey roasting outside? We absolutely love using our Traeger to cook a Thanksgiving turkey. While it contentedly roasts away outside, you can get to all the casseroles, roles, and pies inside. Winning!
How it Works: Prepare the turkey as normal, but instead of preheating the oven, start preheating your outdoor smoker. Now, there’s a lot of versatility here depending on the outcome you want. You can cook your turkey low and slow (between 225°F to 275°F) for several hours to develop more of that smokey flavor. Or, if it can reach higher temperatures (350°F+), you can use your smoker just like a traditional oven and cook your turkey as normal. Ultimately, the final cooking time will depend entirely on the size of the bird, the weather outside, and the results you want.
For a truly smoked turkey, you will set the temperature to 225℉ to preheat. Prepare and season the turkey with herb butter, spreading it under the skin and on top of the skin before sprinkling it with kosher salt and pepper. Then place it in the smoker. You can cook it breast side up on a sheet tray with a cooling rack if you want to catch the drippings, or directly on the grill grates. Smoke until the internal temperature reaches 100-110℉ (about 2 hours). Then you will increase the grill temperature to 350℉ and finish cooking until no part of the meat is lower than 155℉ (about 4 hours more). Let the turkey rest for about 15-30 minutes so the internal temperature continues to rise to the final temperature of 165℉. Then you are ready to carve, serve, and enjoy!
For a traditional turkey, preheat the smoker to 300°F while you prepare and season the turkey. When ready to cook, smoke the turkey breast side up for 3-4 hours until the deepest part of the breast reaches no less than 155°F. Let rest for 15-30 minutes to again let the internal temperature rise to 165℉ before carving and serving.
For a spatchcocked turkey in the smoker, set the initial temperature to 400℉. Place the prepared bird breast side up. Insert a probe thermometer into the thickest part of the breast and close the lid to cook for 30 minutes. Then, reduce the temperature of the grill to 300℉ and cook until the internal temperature reaches no less than 155℉ (about 2-3 hours). Remove from the grill and allow the turkey to rest about 30 minutes while the internal temperature rises to 165℉. Slice and enjoy!
Pros
- Free up oven space: For us, this is the most important reason to smoke a turkey outside. This means you can use your oven space for all the other dishes for your holiday meal. Done and done!
- Flavor: A smoked turkey just hits different. The combination of simple spices and primal wood-fired flavor both inside and out—you get a turkey that’s gorgeously golden, tender, and juicy.
Cons
- Early start: Preheating a smoker can take longer than preheating a traditional oven. Also, if you decide to fully smoke a turkey and absorb all that flavor, it will take a lower temperature setting and a lot longer to get the meat to cook properly. Whatever time you initially think it will take, always plan for longer.
These are the three tried-and-true ways we cook a turkey on Thanksgiving Day. They have never let us down. And these methods cater to all skill levels and taste preferences. So do not get intimidated. We are right here beside you, cheering you on. With the right approach, we know you can cook a Thanksgiving turkey that will be the iconic centerpiece of your table and all your guests will be raving for years to come.


