If you’re a fan of fresh, creamy butter, why not make it yourself? It’s shockingly easy. With just a few simple ingredients and the help of a mixer, you can whip up homemade butter that’s rich and flavorful. Plus, you’ll be in complete control of the ingredients, texture, and salt level. And when it turns out far superior to anything you can buy at the store, you get to keep all the butter bragging rights. In this guide, we’ll walk you through the easy steps to make perfect butter every time, along with a few tips and tricks to help you get it just right.
Ingredients You’ll Need:
- 1 quart Heavy Cream: The key ingredient to making butter. Choose a high-quality heavy cream with a high fat content (at least 36% fat).
- 1 tsp Kosher Salt (optional): A pinch of salt adds flavor, but it’s totally optional if you prefer unsalted butter.
- Water (optional): If you want to rinse your butter after churning, you’ll need some cold water.
Equipment:
- Mixer: A hand mixer or stand mixer works best for this recipe. You can also use a food processor, but for this guide, we’ll stick to the mixer method.

Steps to Make Homemade Butter:
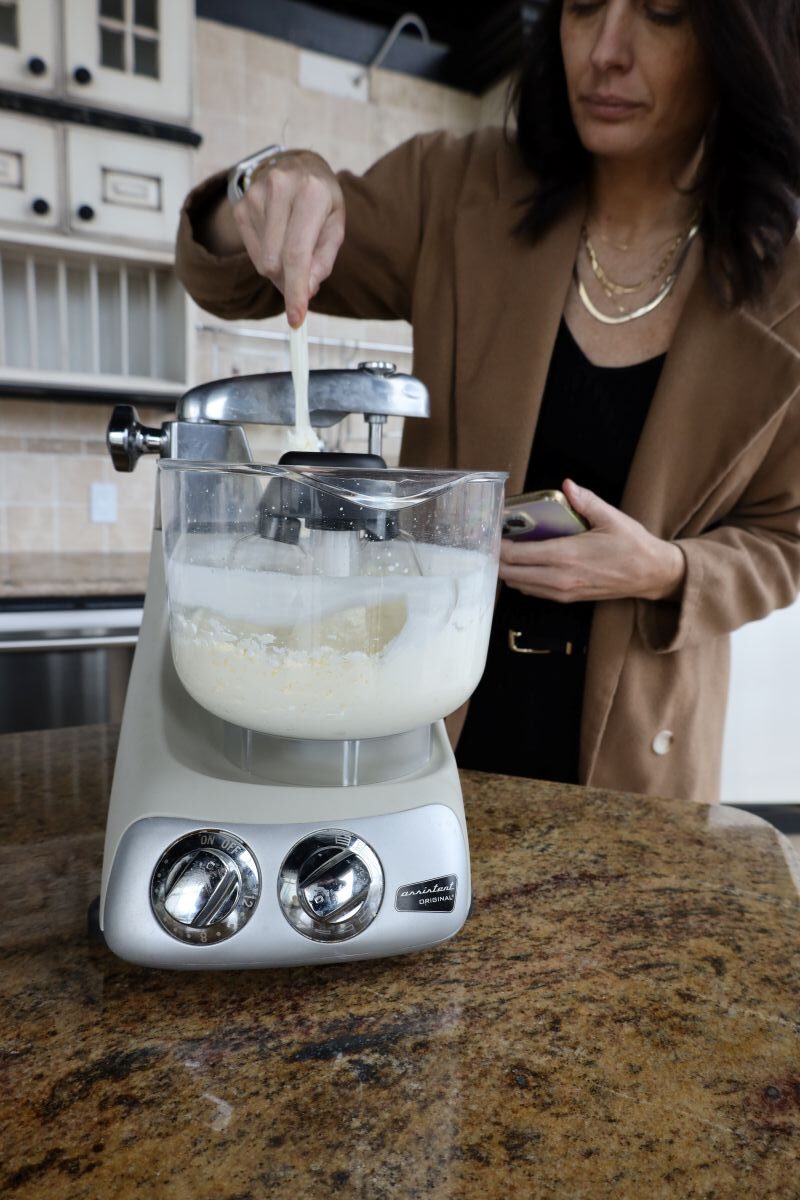
- Prepare Your Cream: Start by placing your heavy cream in a clean mixing bowl. Make sure your cream is fresh and cold from the fridge—cold cream will churn more efficiently. You can also pour in a pinch of salt at this stage if you like salted butter.
- Mixing Process:
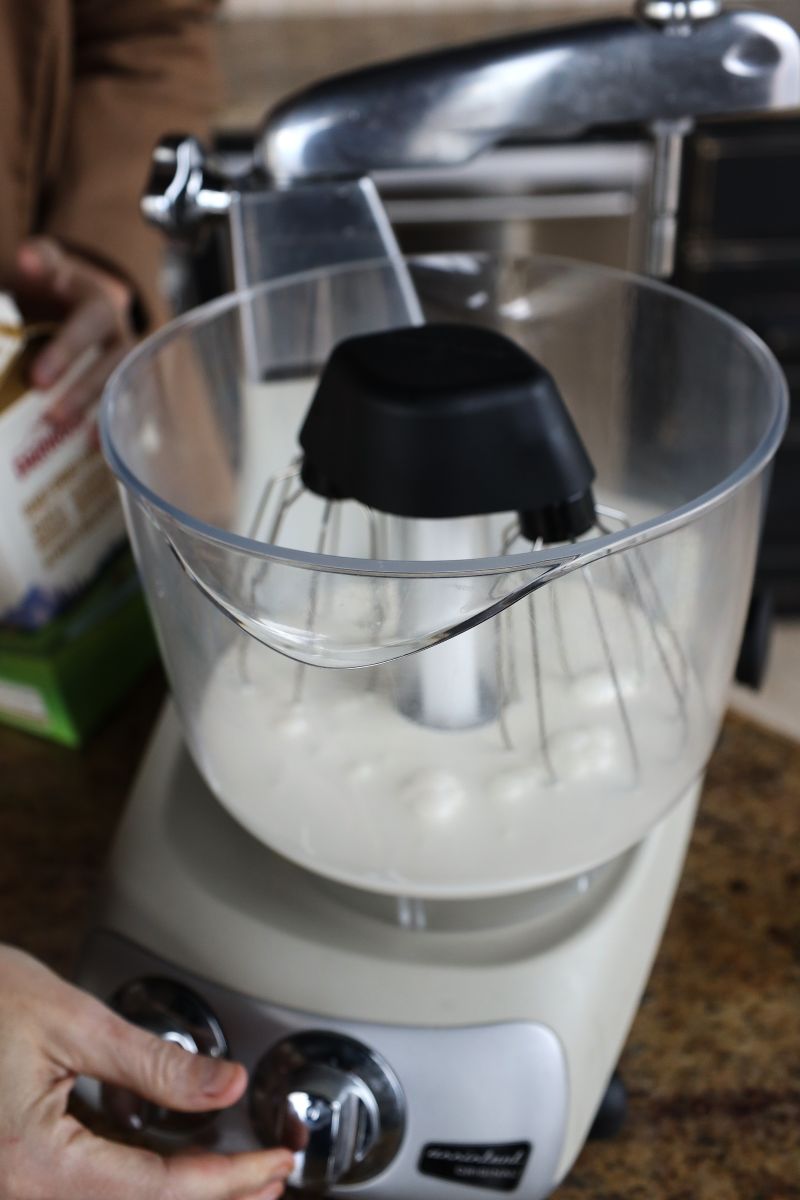
- Begin mixing the cream on a medium speed. Gradually increase the speed as the cream starts to thicken.
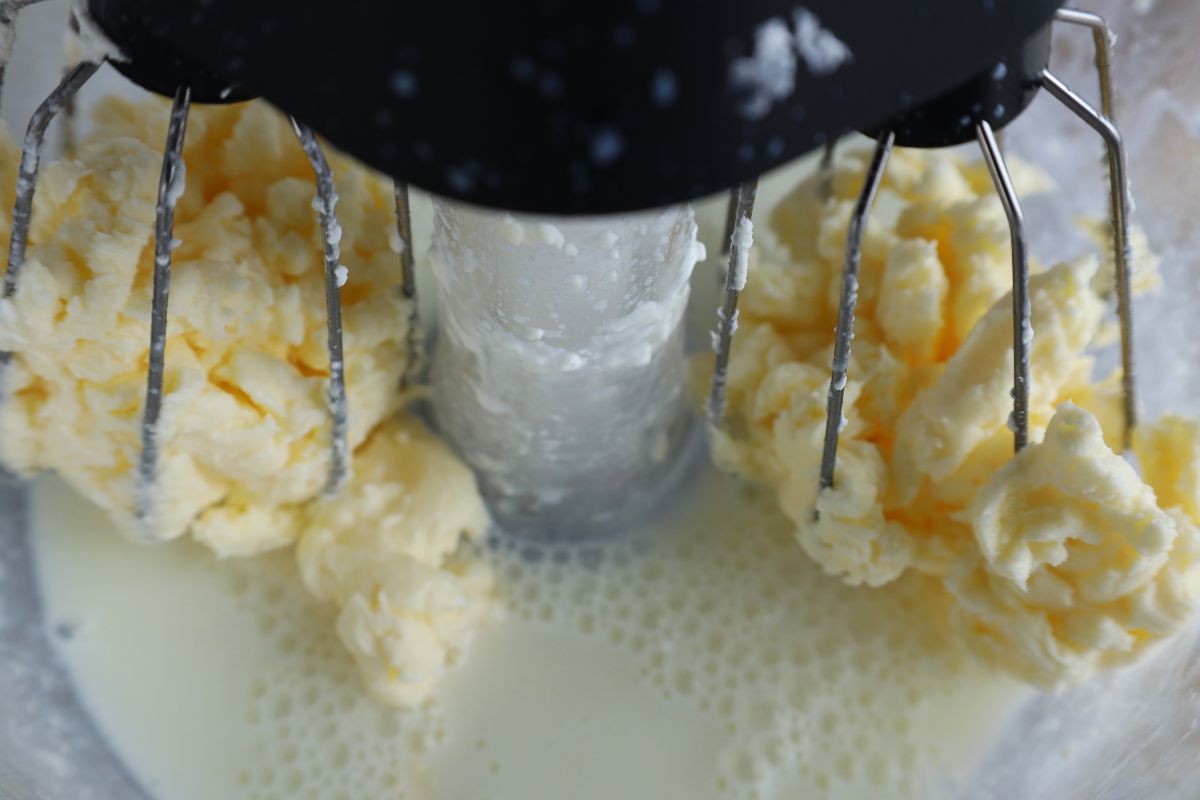
- Stage 1 – Whipping: As you mix, the cream will first turn into whipped cream. This will happen after about 3-5 minutes of mixing. You’ll notice that it starts to form soft peaks.
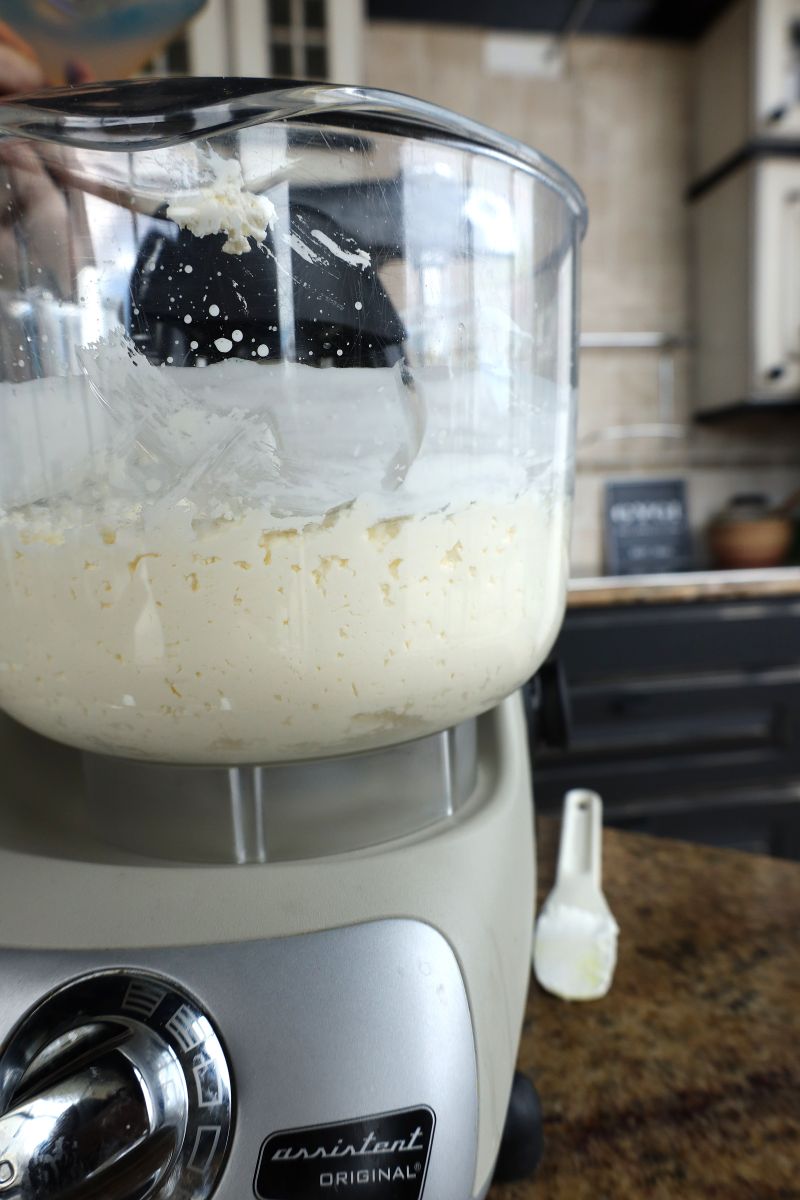
- Stage 2 – Butter Separation: Continue mixing beyond the whipped cream stage. After a few more minutes, the whipped cream will begin to separate into curds (the butter) and buttermilk (the liquid). This is where you turn down the speed to help prevent splatter, but keep going until the butter has fully separated from the buttermilk. (Note: we made butter in the Ankarsrum in just six minutes!)
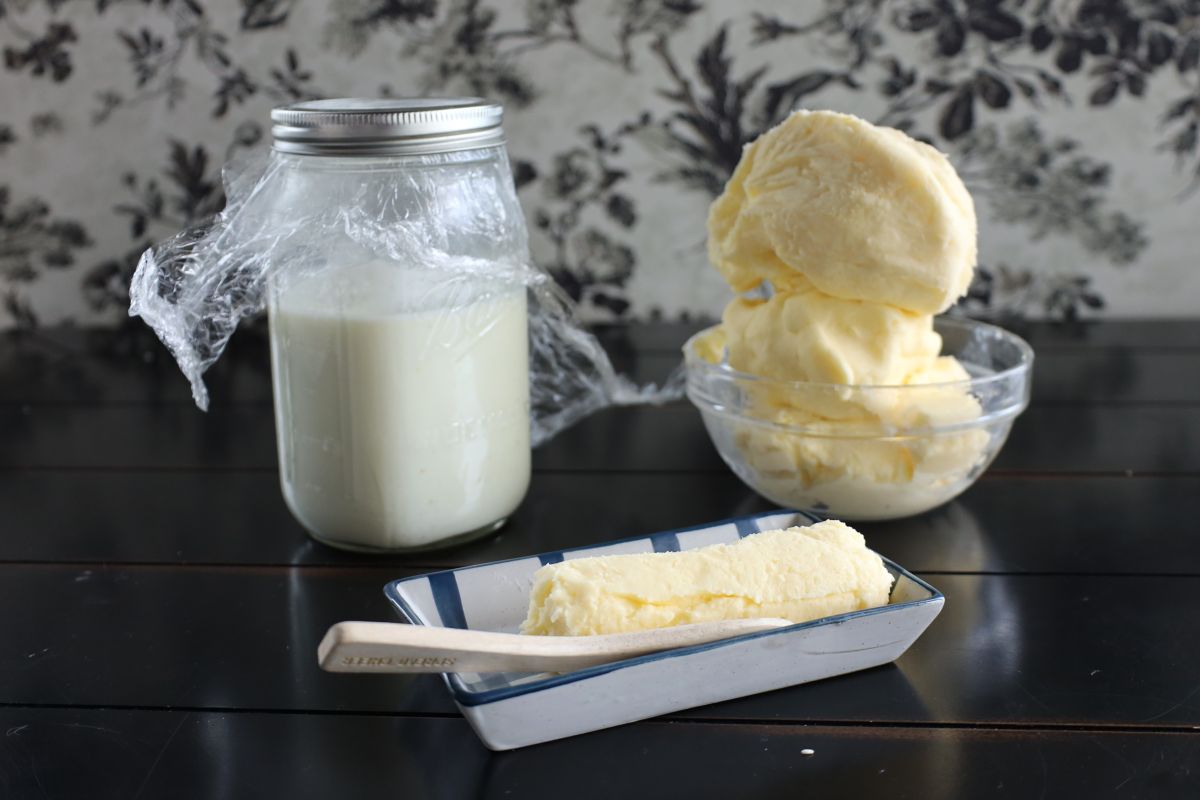
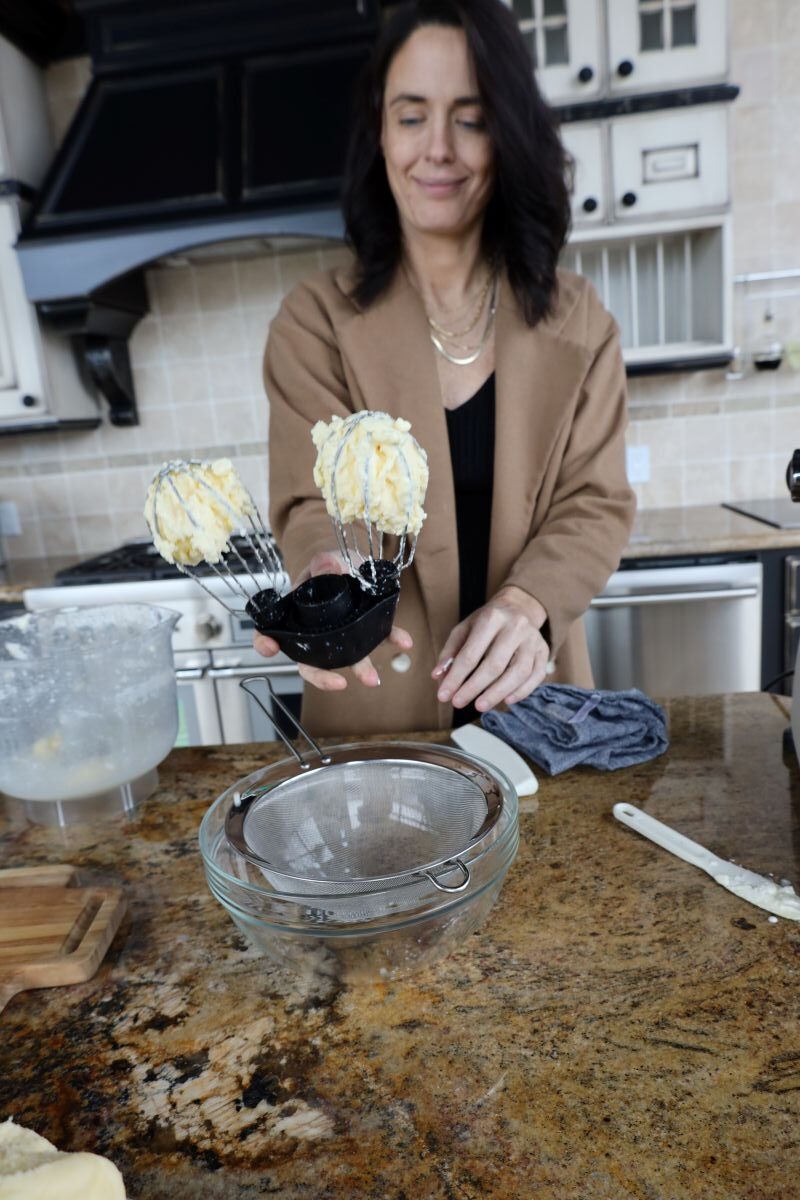
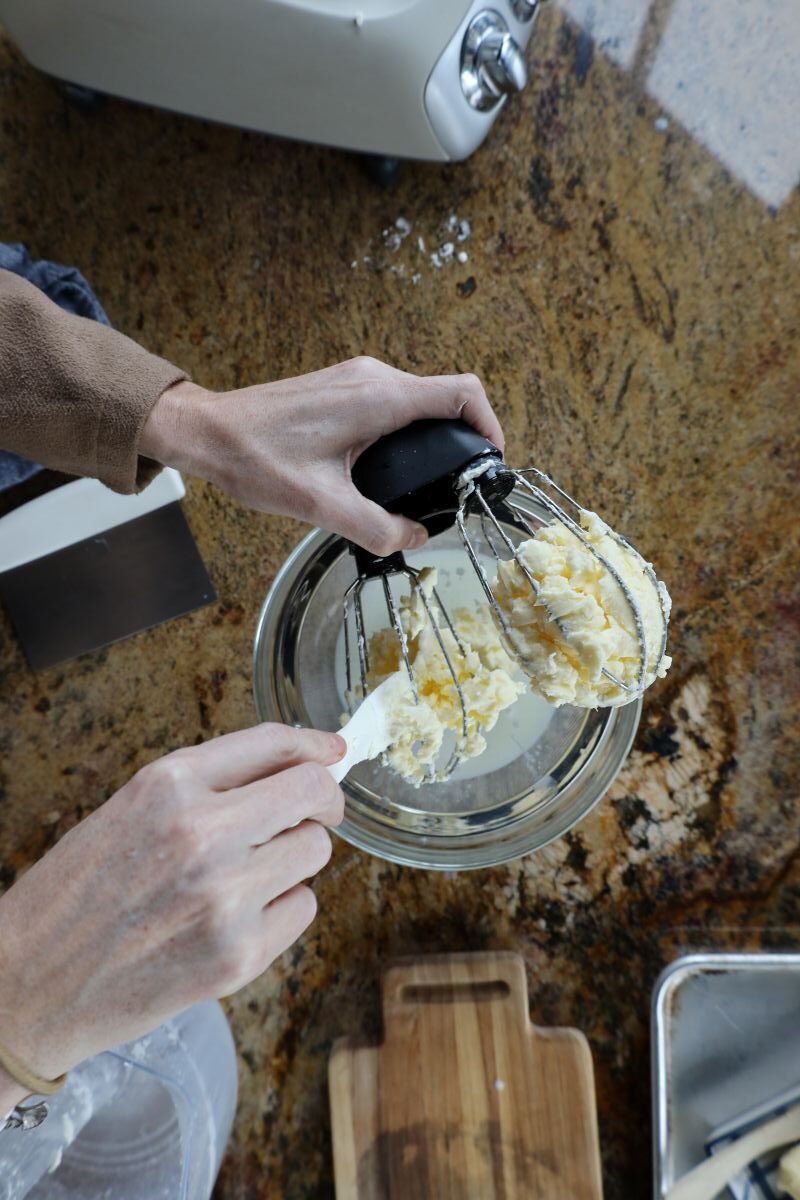
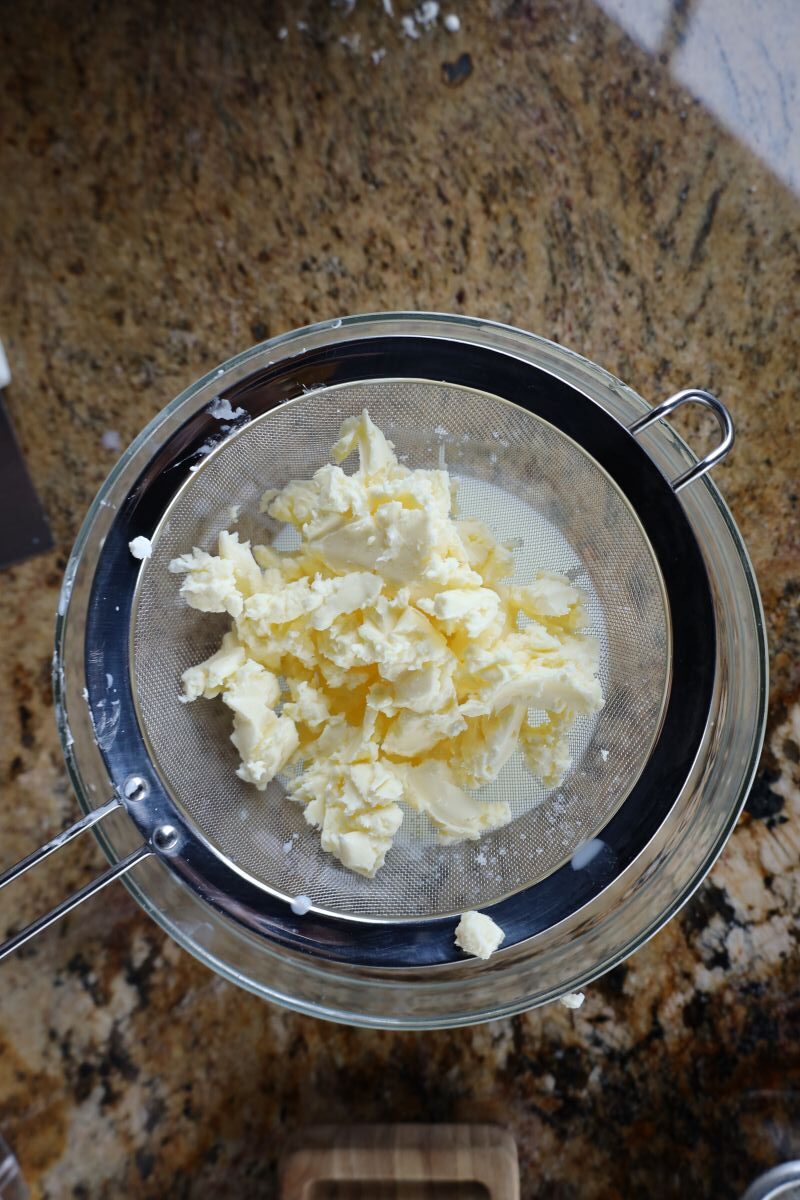
- Drain the Buttermilk: Once you see the butter fully separate from the liquid, it’s time to drain off the buttermilk. Use a fine-mesh sieve or cheesecloth to catch the buttermilk, and you can save it in the fridge for recipes like pancakes or syrup.
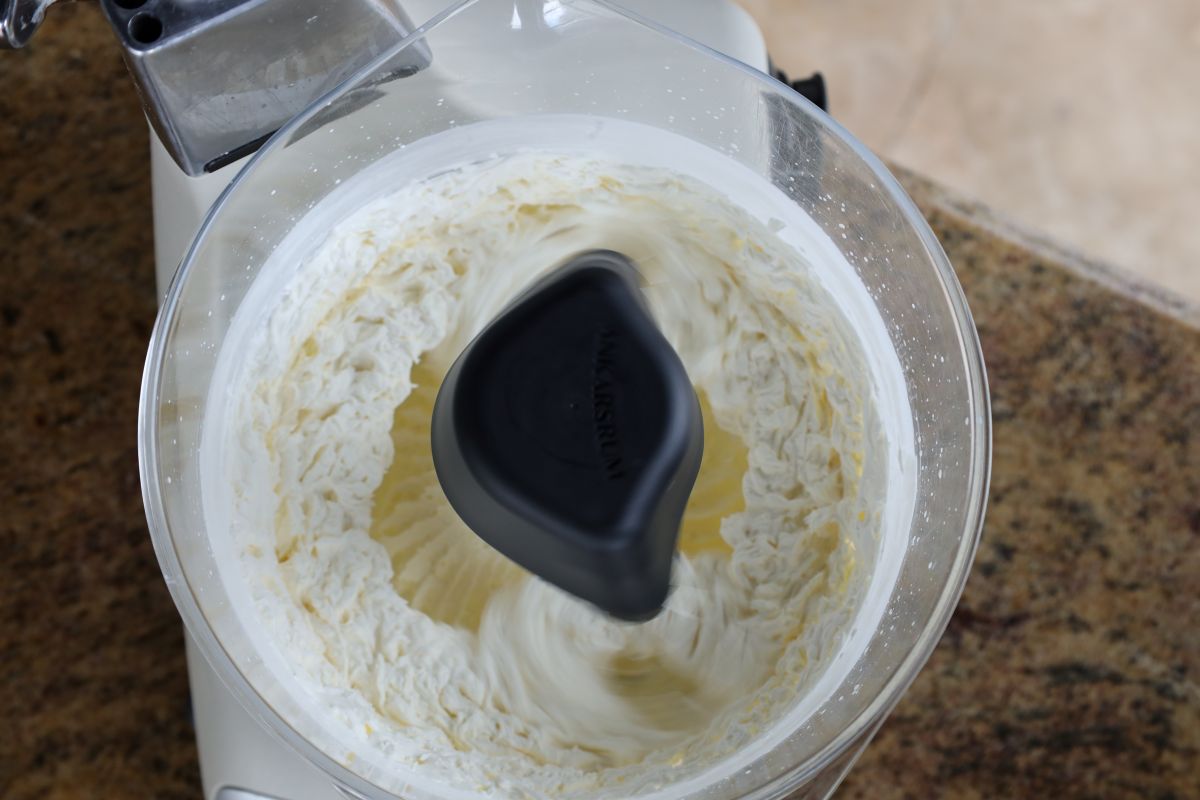
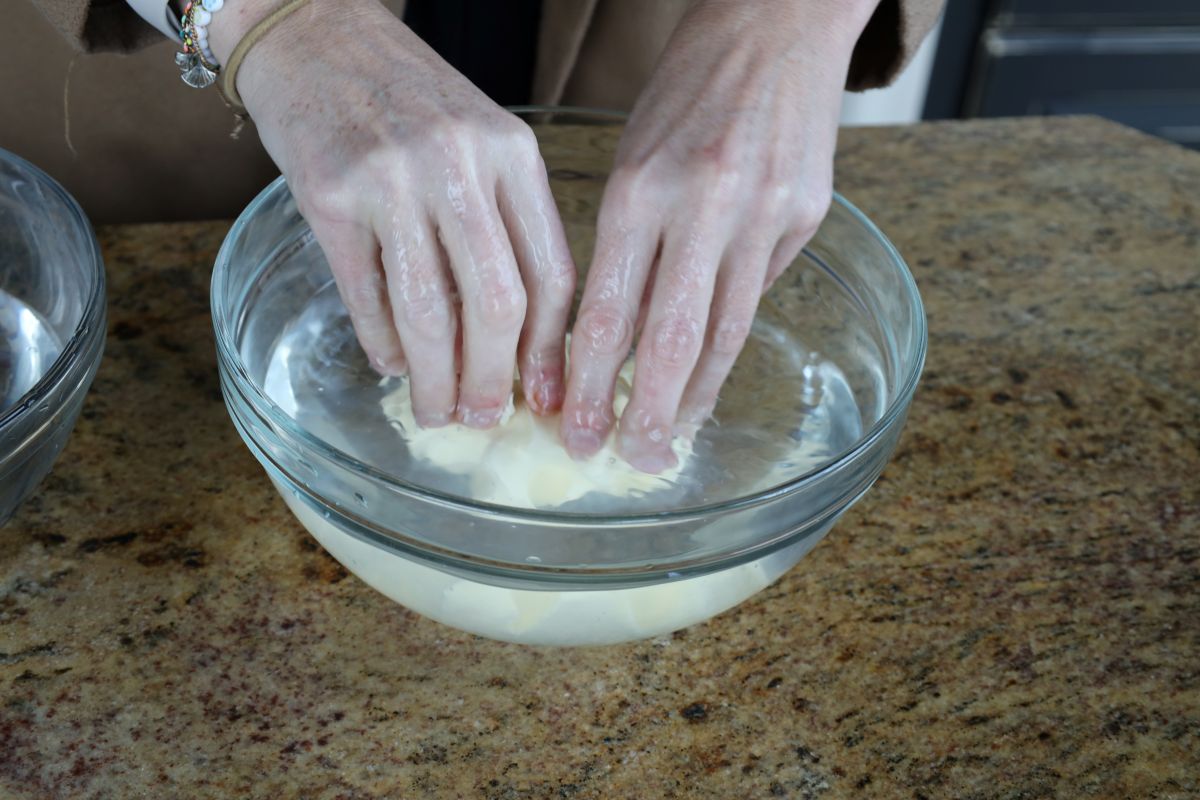
- Rinse the Butter: Now, to make your butter smooth and creamy, rinse and knead it under cold water. This helps to remove any residual buttermilk and ensures your butter doesn’t spoil quickly. Use your hands or a spoon to gently press out the water as you rinse it. Repeat until the water runs clear.
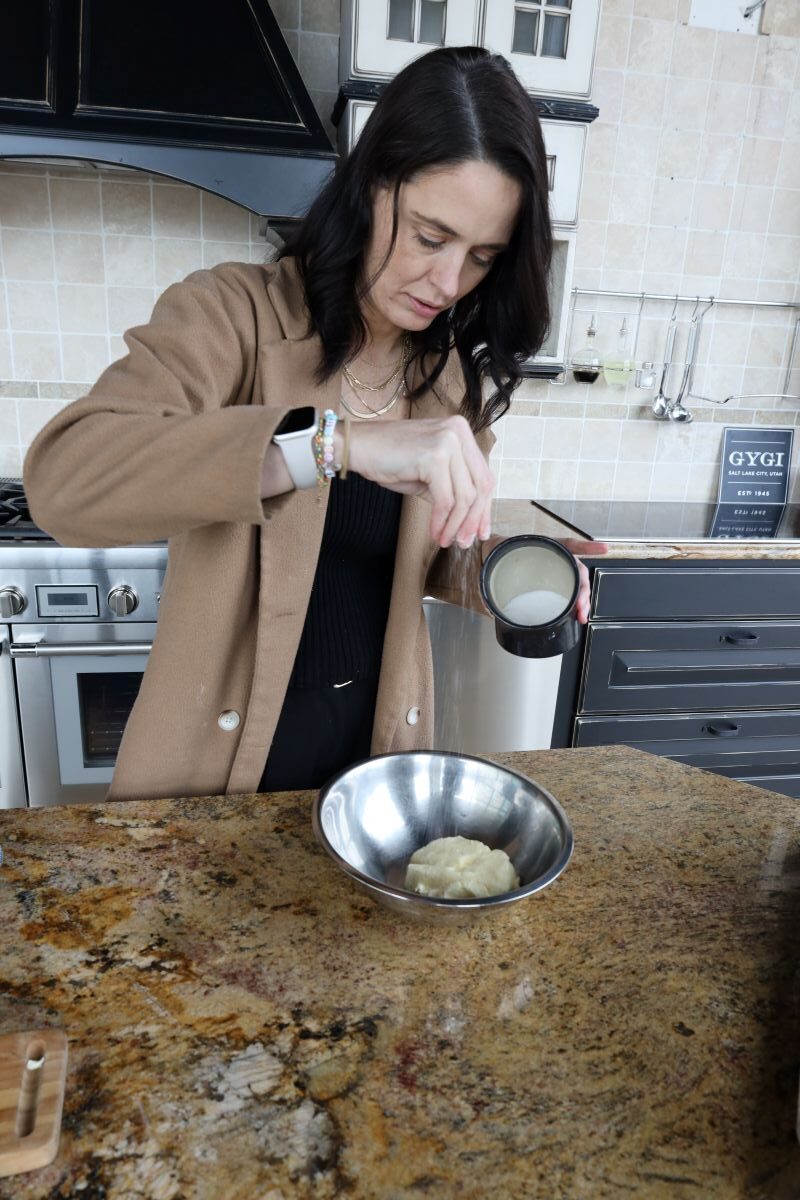
- Finish with Salt: After the butter has been rinsed, you can mix in additional salt to taste. This step is optional, but if you prefer salted butter like we do, this is the time to add a pinch or two of kosher salt.
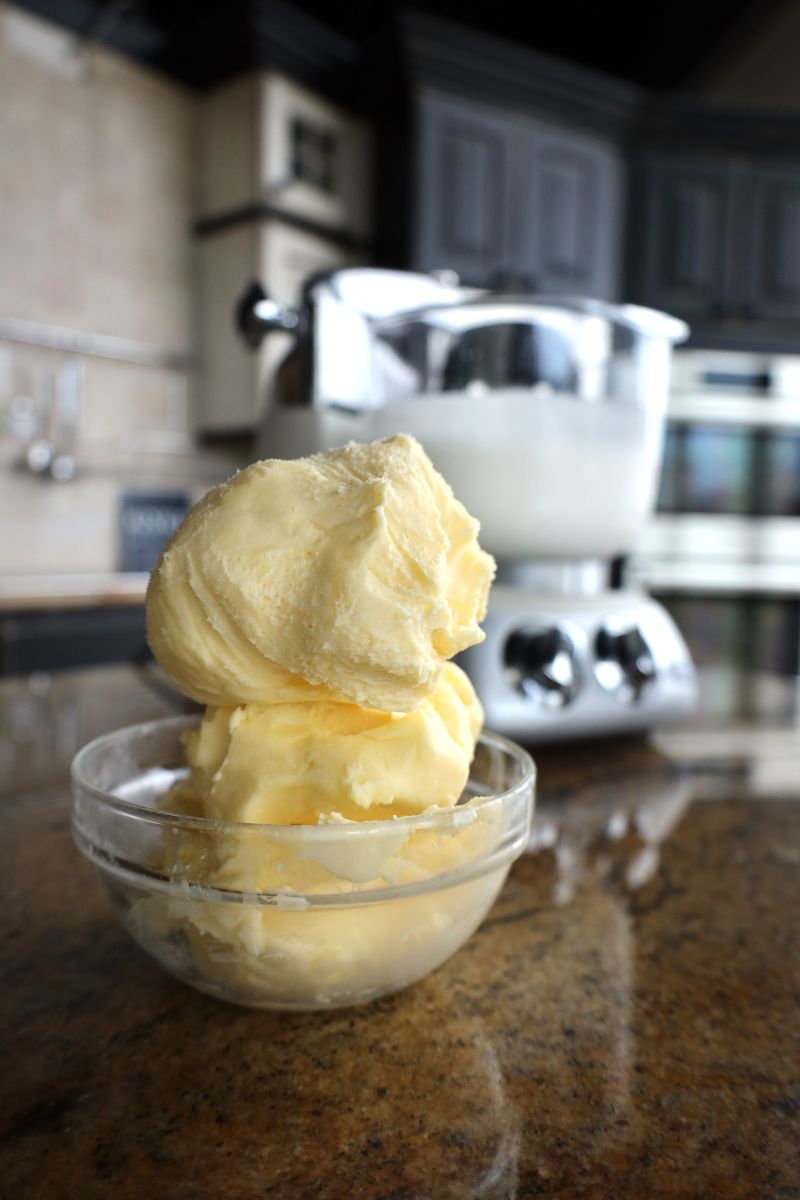
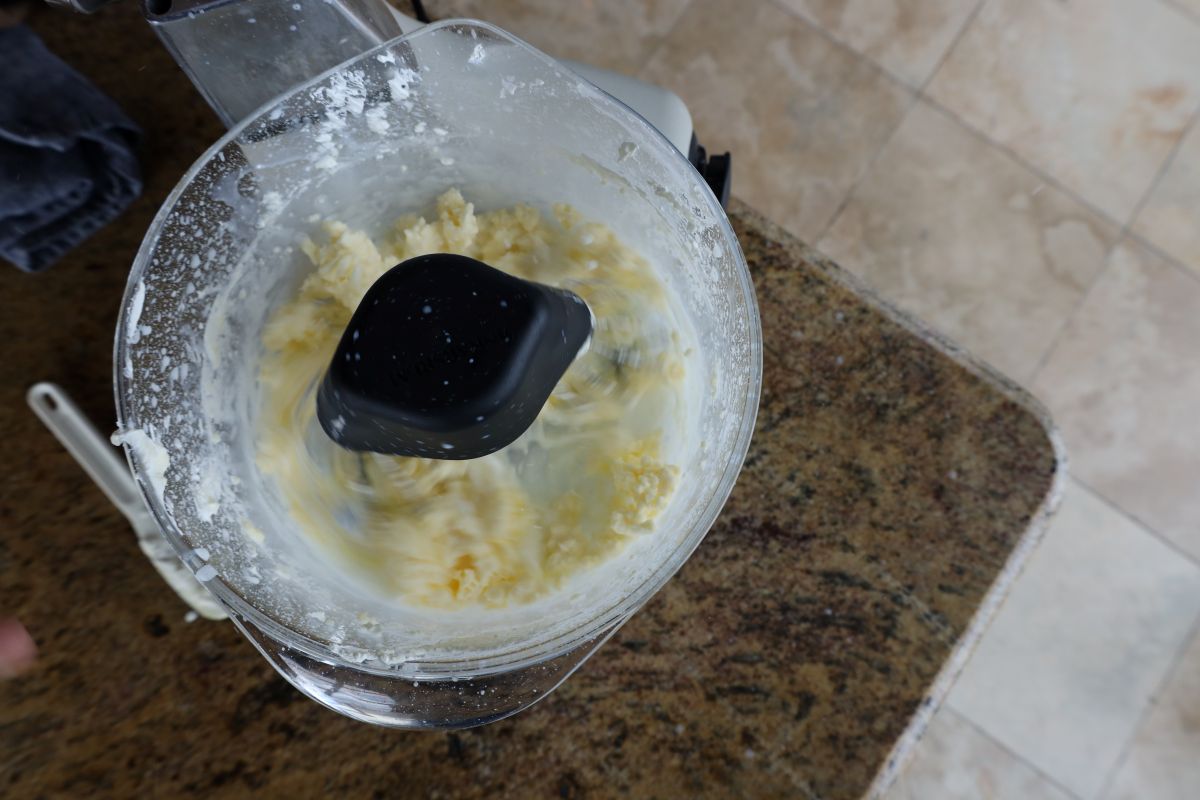
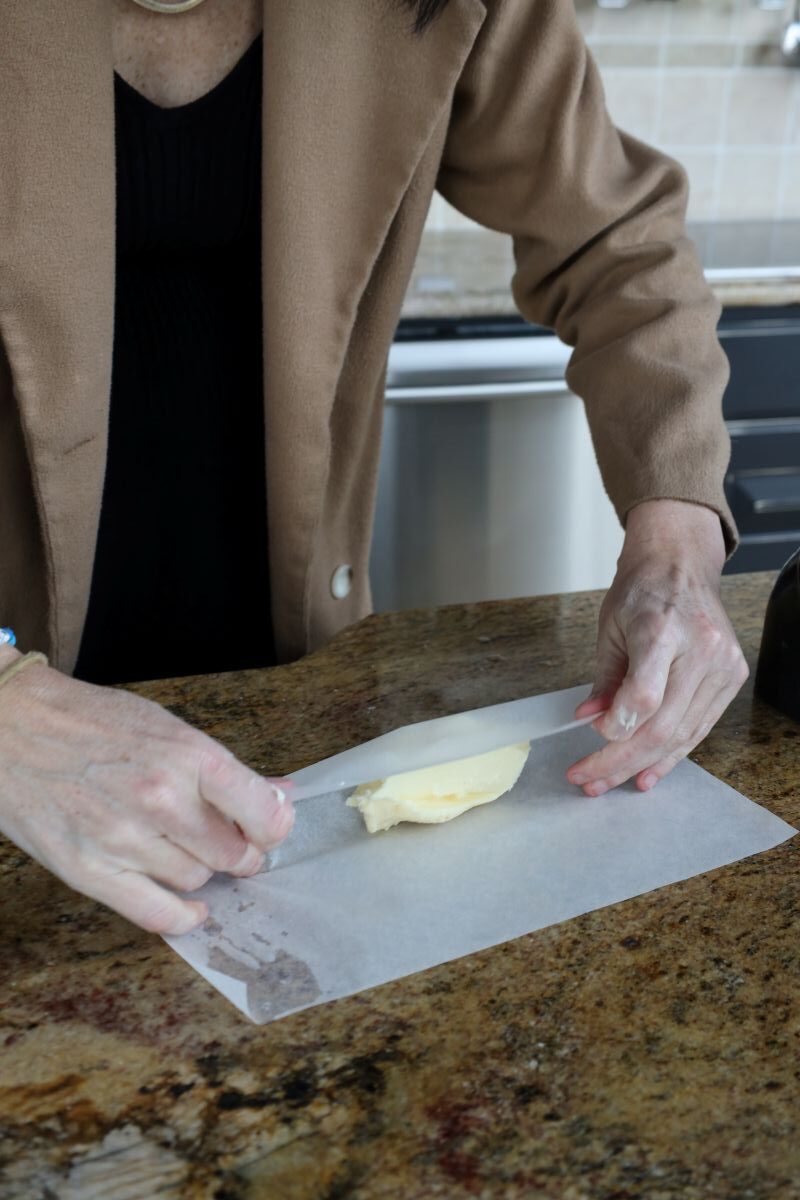
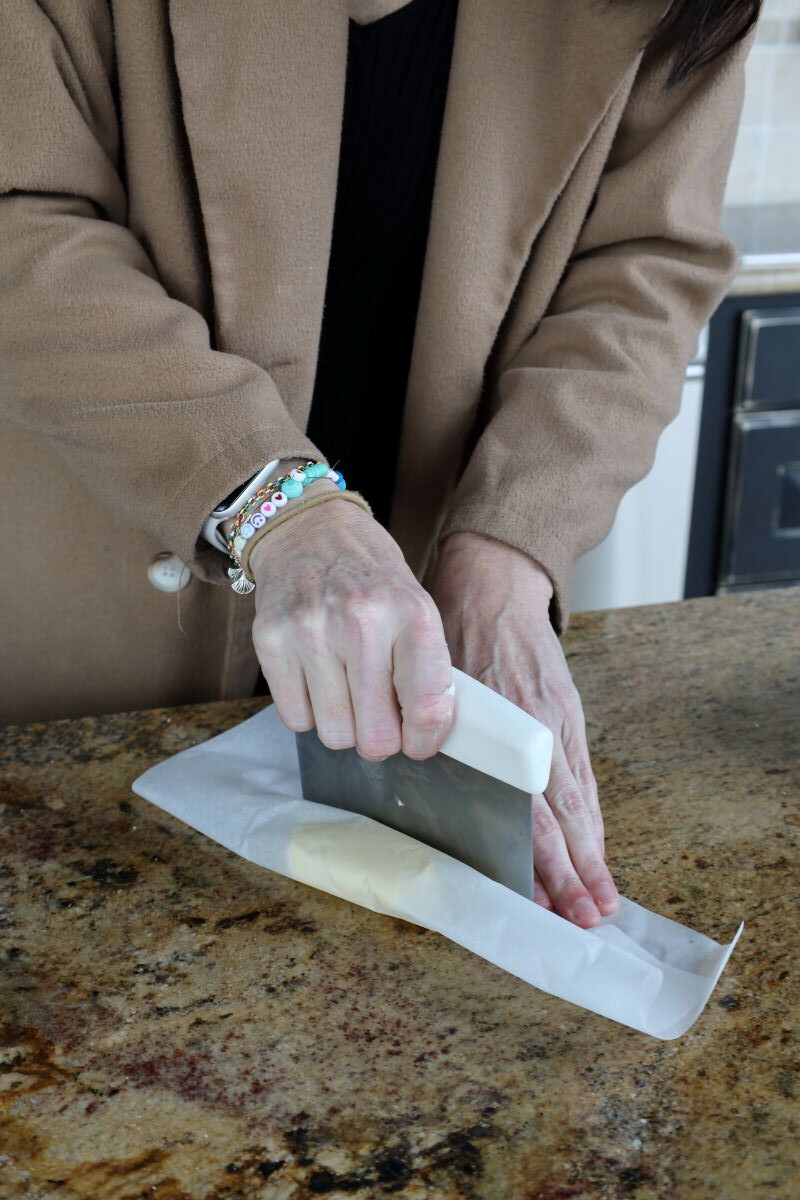
- Shape and Store: Once your butter is perfectly rinsed and salted, it’s ready for storage. Shape the butter into a block or place it into a container. Store it in the refrigerator for 2-3weeks, or you can freeze it for up to three months.
Tips and Tricks for Perfect Homemade Butter:
- Use Fresh, High-Quality Cream: The quality of your cream is crucial for good-tasting butter. Opt for organic or grass-fed heavy cream if you want a more robust flavor.
- Don’t Overmix: If you keep mixing after the butter has formed, you risk overworking it and making it greasy. Once the curds and buttermilk have separated, stop mixing.
- Control the Salt: Adding salt is a personal preference. If you’re unsure how much to add, start with just a pinch and taste it. You can always add more later!
- Temperature Matters: While you want your cream to be cold when you start, room temperature butter will blend more easily and be spreadable once made. If you want soft butter right away, let it sit out for a little while.
- Save the Buttermilk: Don’t throw away the liquid! Buttermilk is a great ingredient for baking, pancakes, or even for marinating meat. Keep it in an airtight container in the fridge and use it within a few days.
- Mix in Extras: Get creative with your butter! Add herbs, garlic, or spices to make flavored butters, such as garlic herb butter or cinnamon honey butter. This makes for a great gift or a delicious addition to your meals.
- Use a Stand Mixer for Consistency: If you have a stand mixer, it’s the best tool to ensure even mixing and less risk of splattering. The bowl and paddle attachment will give you control over the mixing process.
What to Add for Compound Butters:
Butter is a welcome addition to almost any dish, but you don’t have to be stuck with plain old butter all the time. There are so many ways to mix it up and add a unique twist by creating a compound butter infused with all sorts of flavors. The most common is probably garlic butter or honey butter as a way to elevate and complement the particular taste of your next meal or treat. Looking for something savory? Try herb butter, chimichurri butter, or butter with sun-dried tomatoes. Looking for something sweet? Consider whipping in maple syrup, brown sugar, cinnamon, or even strawberries. Or, if you’re feeling especially adventurous, try flavor stacking by adding some goat cheese or blue cheese for a decadent dairy spread.
Conclusion:
Making butter at home is not only incredibly easy, but it also gives you the chance to enjoy a fresher, more personalized product. With just heavy cream, salt, and a mixer, you can make butter that’s perfect for spreading on toast, baking into your favorite recipes (i.e. cookies, cakes, rolls), or adding a homemade touch to your meals. With a few tips and practice, you’ll be able to make butter like a pro every time. Enjoy the satisfaction of knowing you’ve created a truly homemade product with a rich, creamy flavor that store-bought butter can’t match. Happy churning!