Chocolate molds are a great way to add a little homemade touch to your chocolate. They are easy to fill, make great edible gifts, and the finished product looks beautiful. For step-by-step instructions, follow our directions below or watch our 1-minute video all about how to fill a chocolate mold.
What you need
1 1/2 cups of your choice of milk, dark, or white chocolate
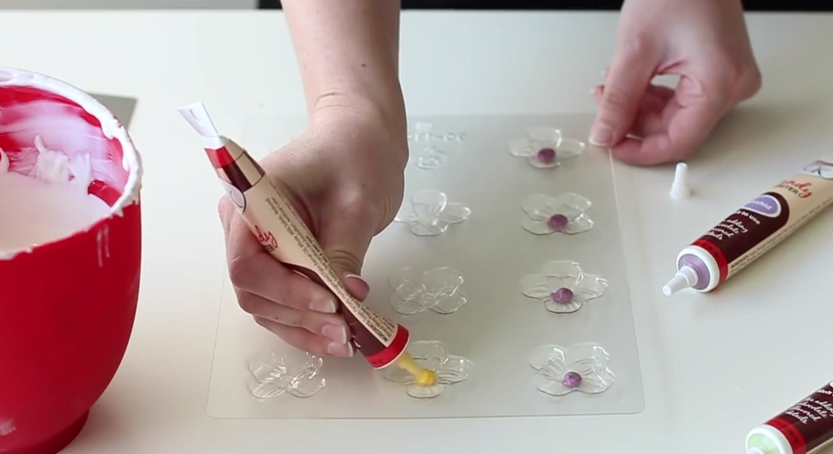
To start, melt your chocolate on half power for 1-minute intervals. Stir between each interval and continue this process until it’s completely melted. Set your melted chocolate aside while you add any decoration or color to your chocolate mold. We suggest using candy writers for cleaner lines and decorations, however, you can also use melted chocolate in squeeze bottles.
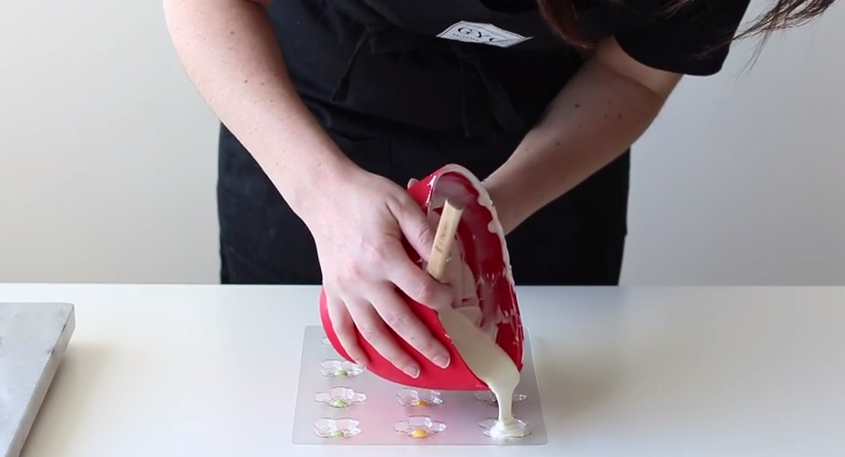
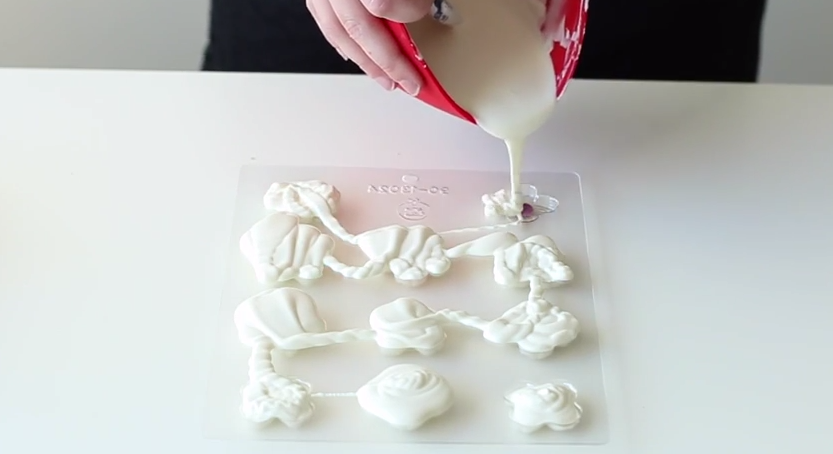
Wait a couple minutes for your accents to set. Pour your melted chocolate into each mold on top of the decoration. Be sure to slightly overfill each mold.
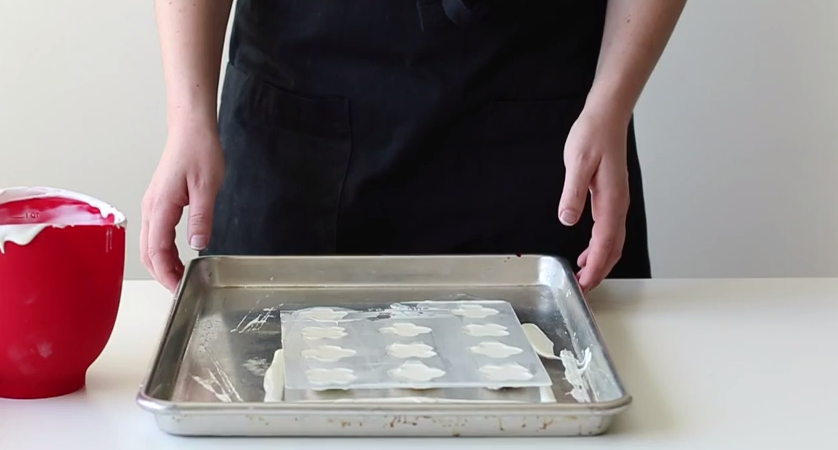
Lift the mold an inch or two above the counter and tap it a couple times to remove any air bubbles. Place the mold onto a baking sheet and use a pastry scraper to remove the excess chocolate. Refrigerate the mold for 1-2 hours.
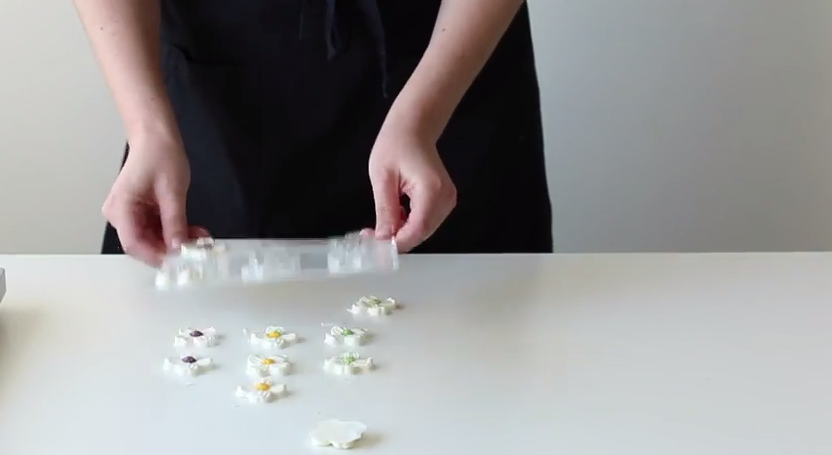
Once the chocolate molds are set, flip the mold over on the counter to remove all of your chocolates.
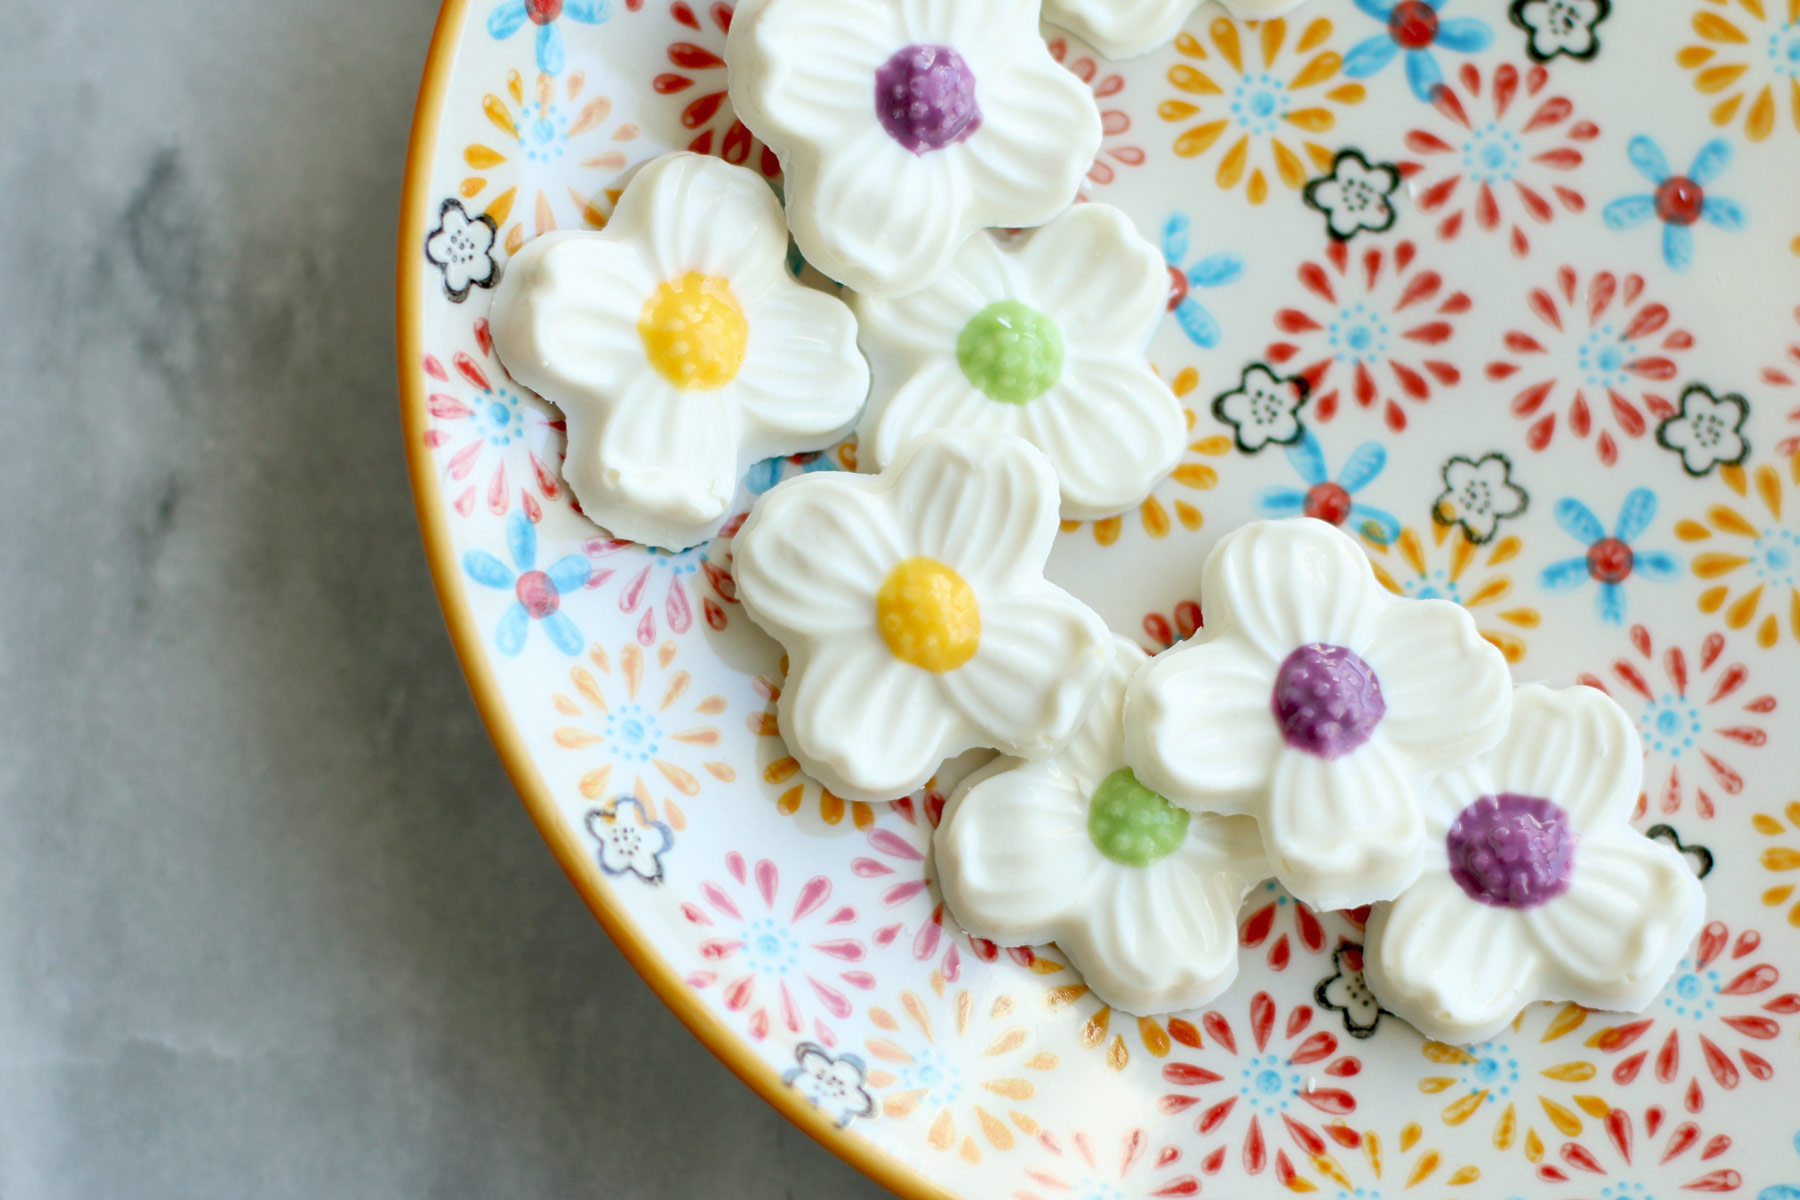
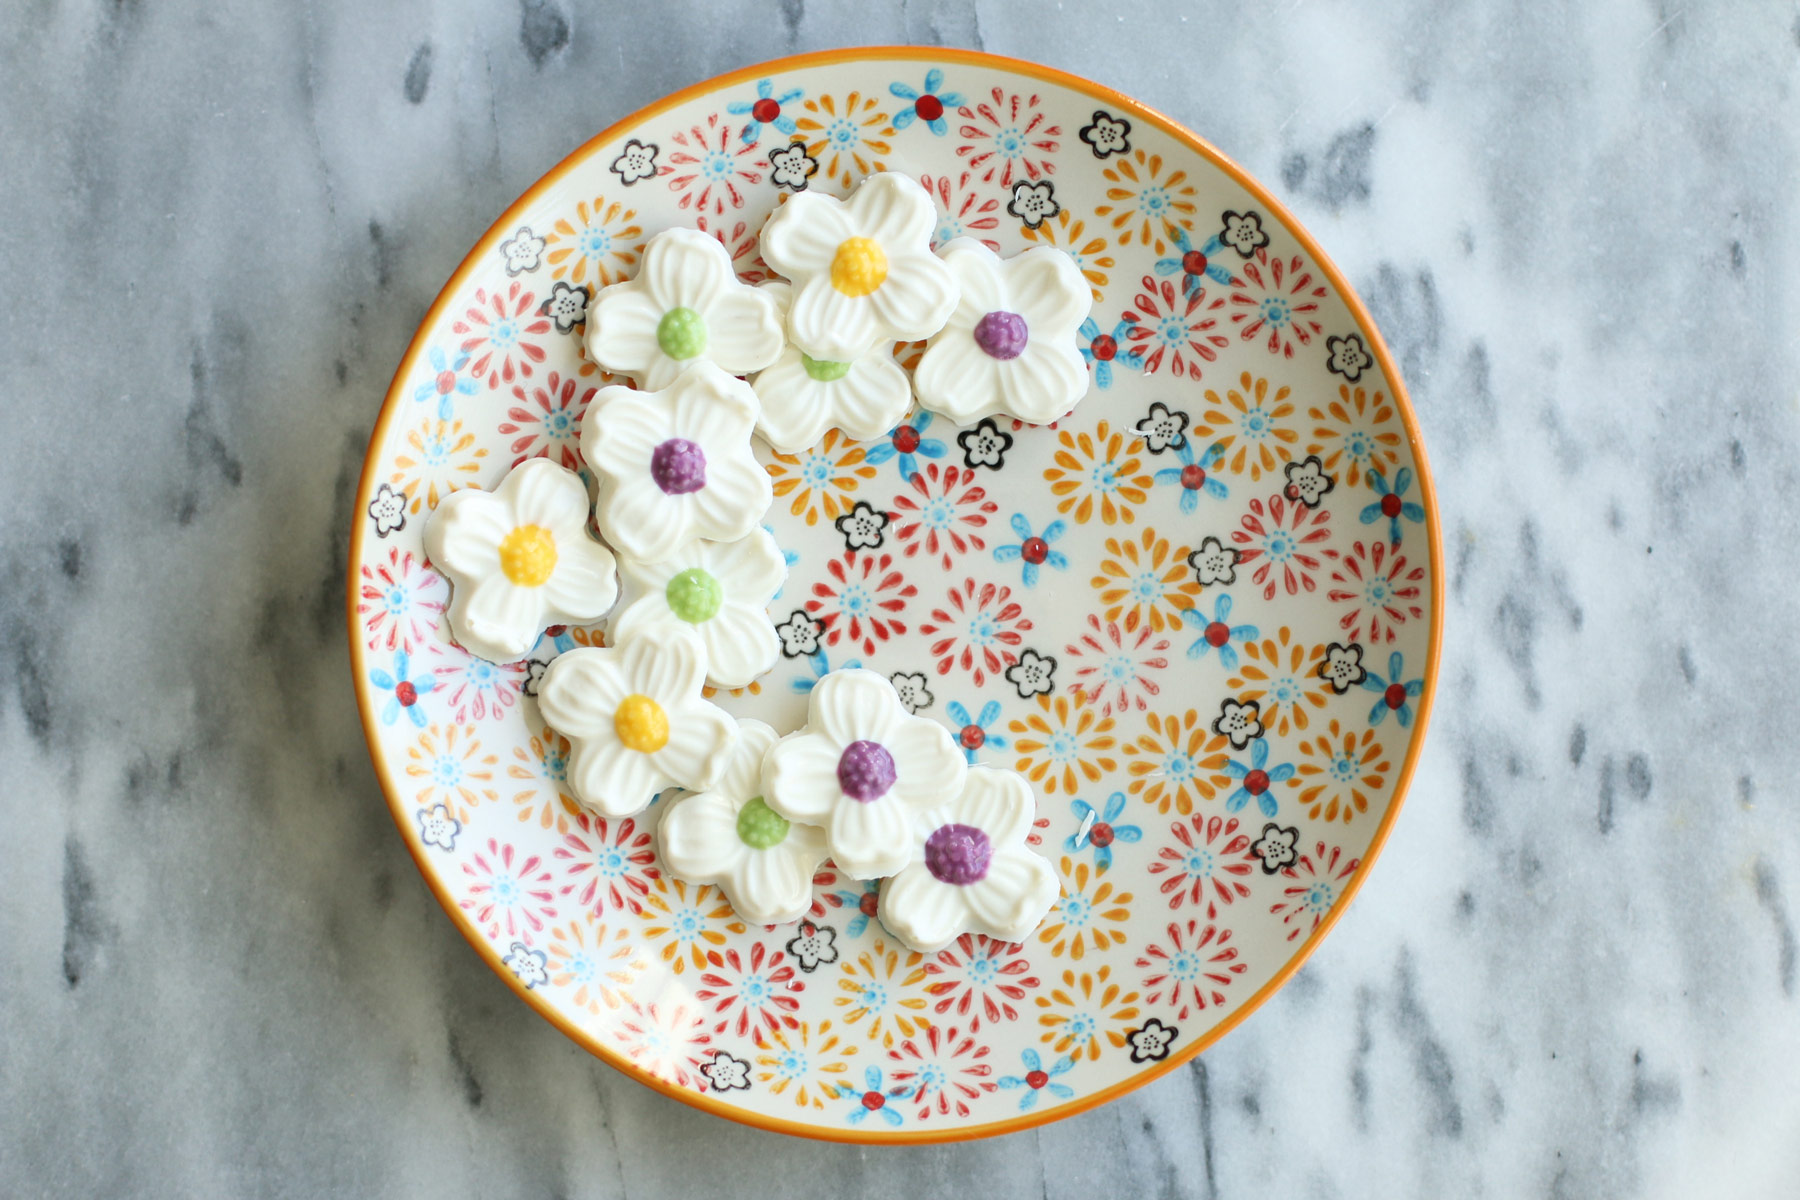
Enjoy your perfect chocolate molds!
For a how-to guide all about how to fill your chocolate mold with a delicious center, check out this blog post.

dixie
April 15, 2015 at 7:46 amlove this web site. truly love Gygi’s!!!!!