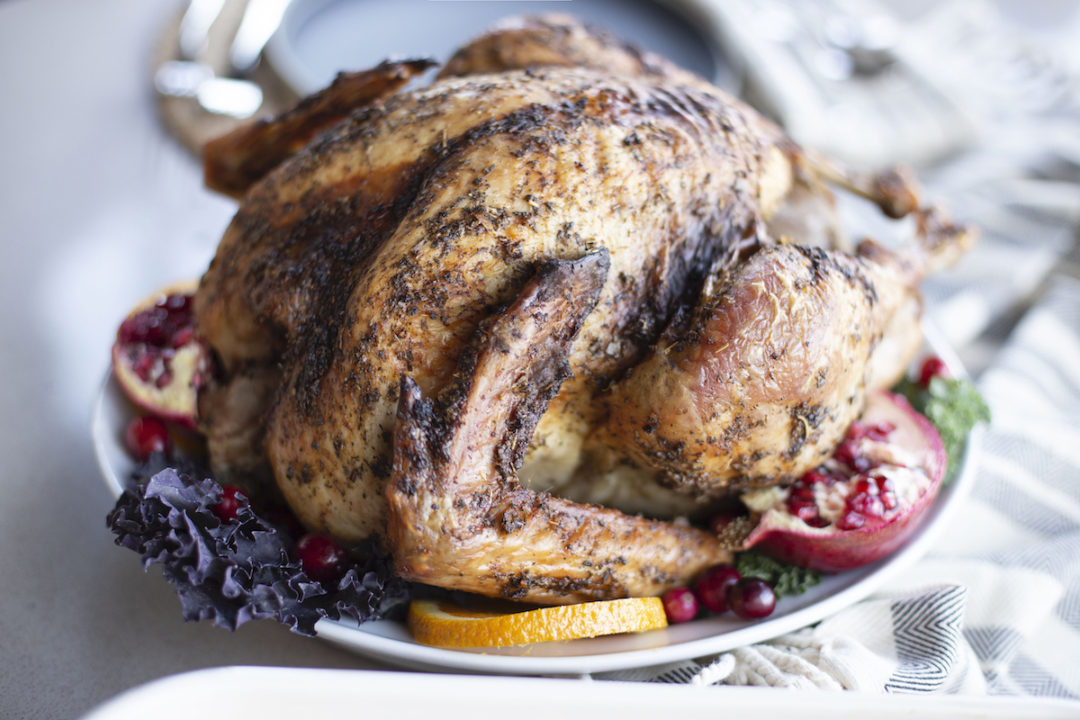
Have you heard? The bird is the word! But only if that bird is cooked correctly.
1. Buying a Turkey
Cooking a drool-worthy turkey starts with buying a quality bird. We recommend buying a bird that has been flash frozen. It is immediately cooled to 0 degrees, locking in the freshness. Opposed to a ‘fresh’ bird that has been held at 37 degrees for an unknown amount of time.
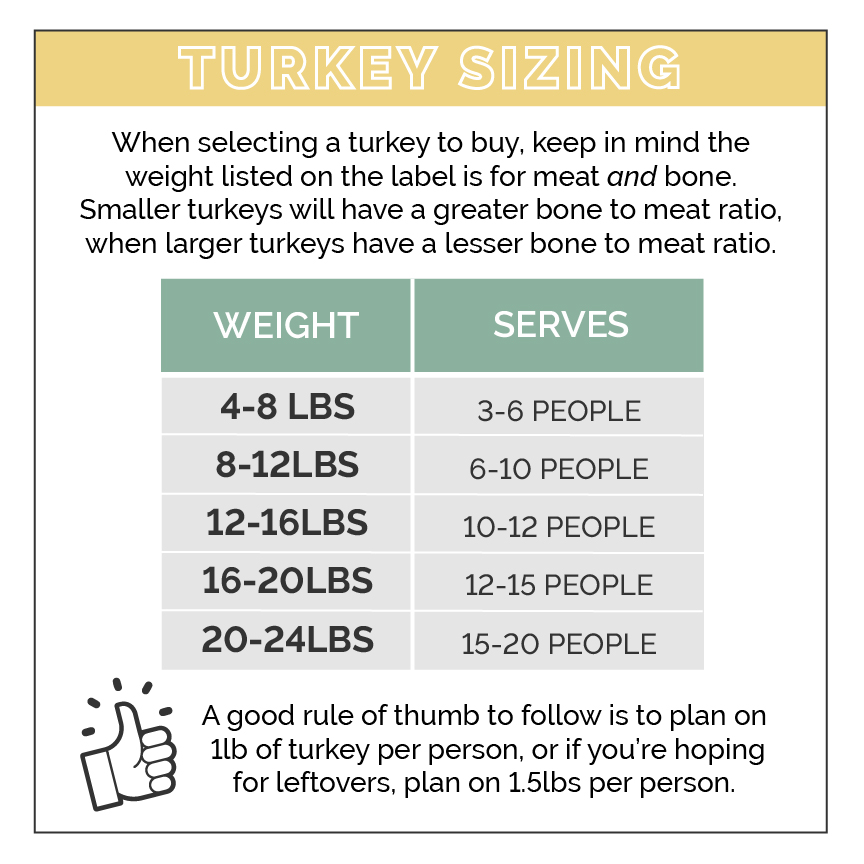
If you’re cooking for a large crowd and need a bird larger than 18 pounds, consider cooking two small turkeys. Larger birds are easily overcooked. Another great option is to roast one full bird and another bone-in turkey breast.
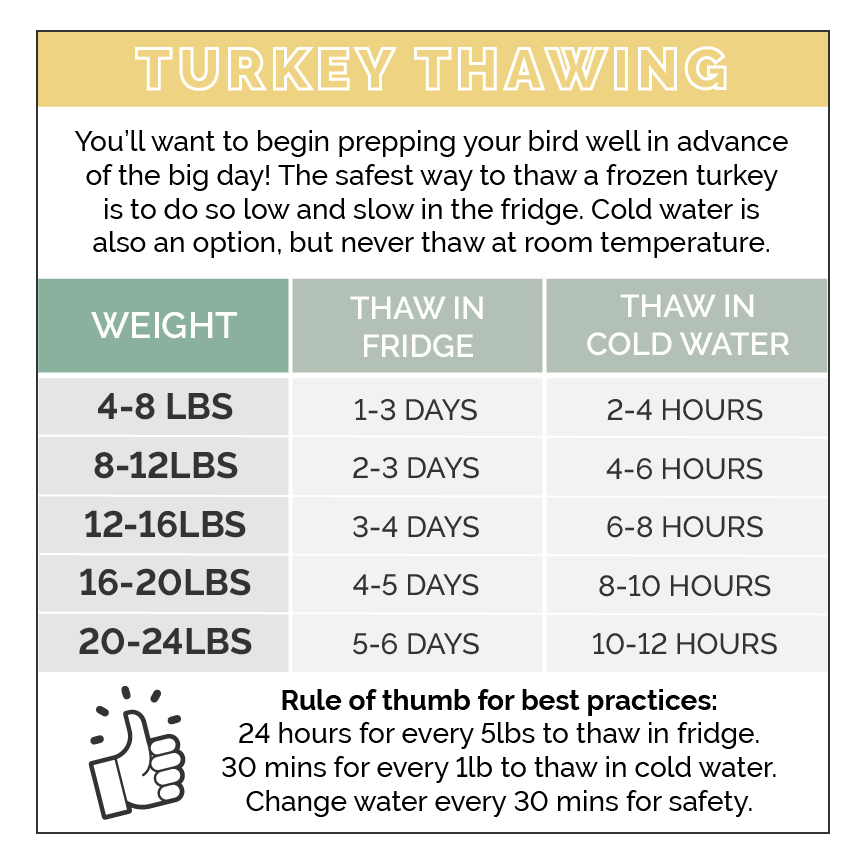
2. Thawing a Frozen Turkey
3. Spatchchocking a Turkey
This next step is optional, but recommended for evenly cooked meat! Through a process called spatchcocking, you’ll remove the spine of the bird, allowing the turkey to lay flat on the roasting pan.
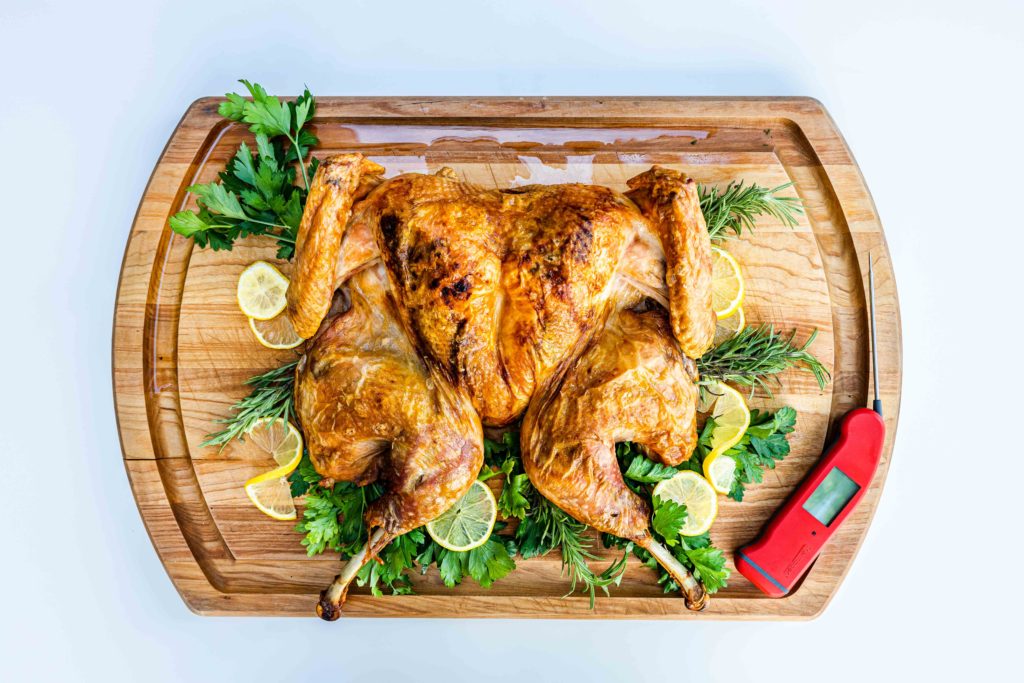
If you think about a turkey as a giant meatball, then you can imagine that in order for the center to be cooked, the outer edge of the meat will be overcooked. But if you flatten the meatball (ie. turkey), the meat will be more evenly exposed to the heat, allowing it to cook evenly and quickly – 1.5 hours, instead of 4 hours! If you’re still unsure about spatchcocking your turkey, check out our 5 Reasons to Spatchcock a Turkey. We promise not to lead you astray. The extra few steps are so worth it!
If you’re interested in learning more about the step-by-step process of spatchcocking a turkey, check out our guide here.
And if you want to take the turkey knowledge one step further, Read more about Spatchcocking from our friend, Chef Martin Earl of Thermoworks.
4. Dry Brining a Turkey
Now, whether you’re roasting a whole bird or a spatchcocked bird, you can start prepping the meat. For the juiciest and most flavorful bird, give yourself a little extra time and brine your bird. Dry brining is our favorite way to infuse flavor and ensure juicy meat. Click here to read how it’s done.
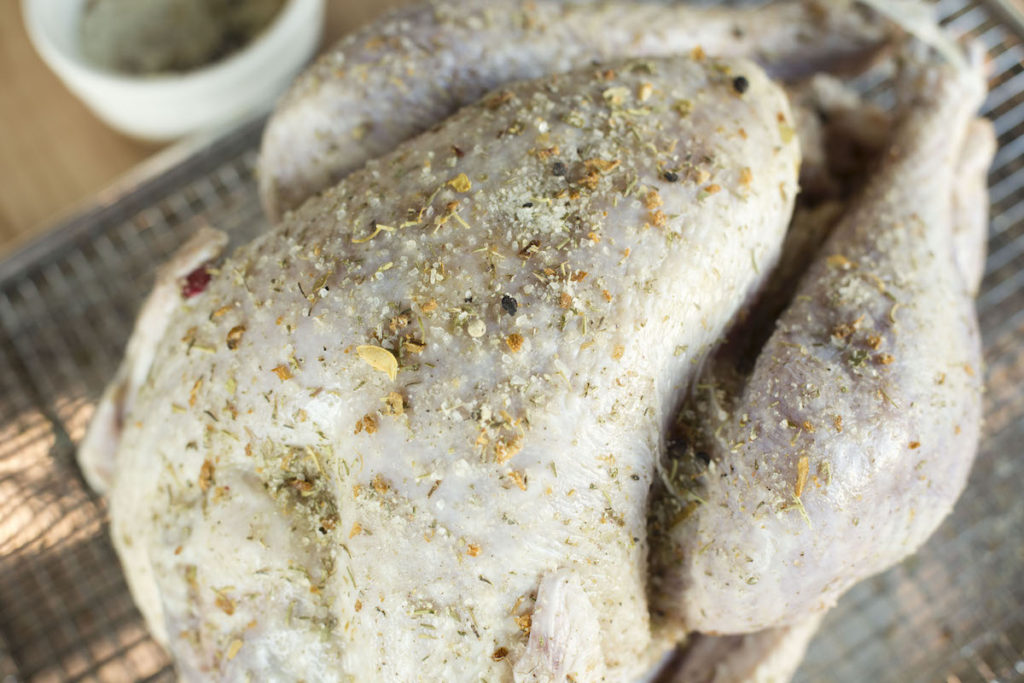
Once you try this method, you’ll never prep a bird any other way. It’s much easier than a wet brine, provides better flavor, softens the meat, and the turkey will have the crispiest skin. Winner, winner, turkey dinner! After brining for 24-48 hours, it’s time to roast.
5. Cooking a Turkey
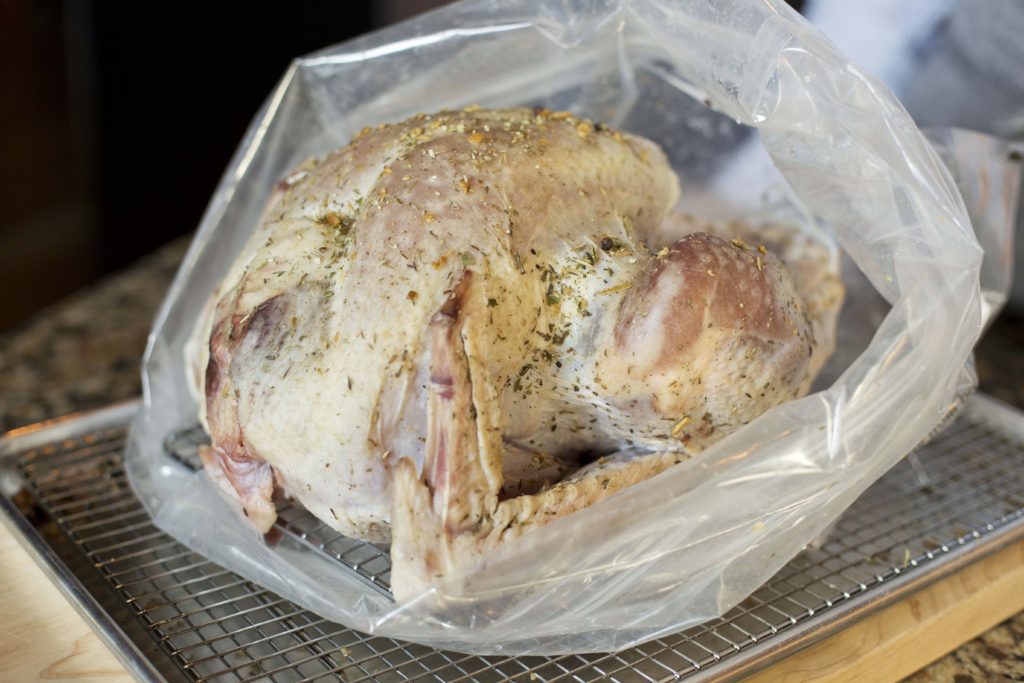
We follow Alton Brown’s method for roasting a classic turkey. You’ll preheat the oven to 500 degrees and place the turkey breast-side up on a sheet pan with a cooling rack. This will allow for adequate airflow around the entire turkey, ensuring evenly cooked meat and superior crispy skin. Place the turkey in the oven on the bottom rack for 30 minutes. Then, reduce the heat to 350 degrees and finish cooking until the deepest part of the breast reaches 155 degrees.
Use either a leave-in digital thermometer or an instant-read digital thermometer to keep track of how your turkey is cooking. Also, keep heavy-duty aluminum foil close by to protect the turkey breast. When the skin starts to brown, shield with some foil.
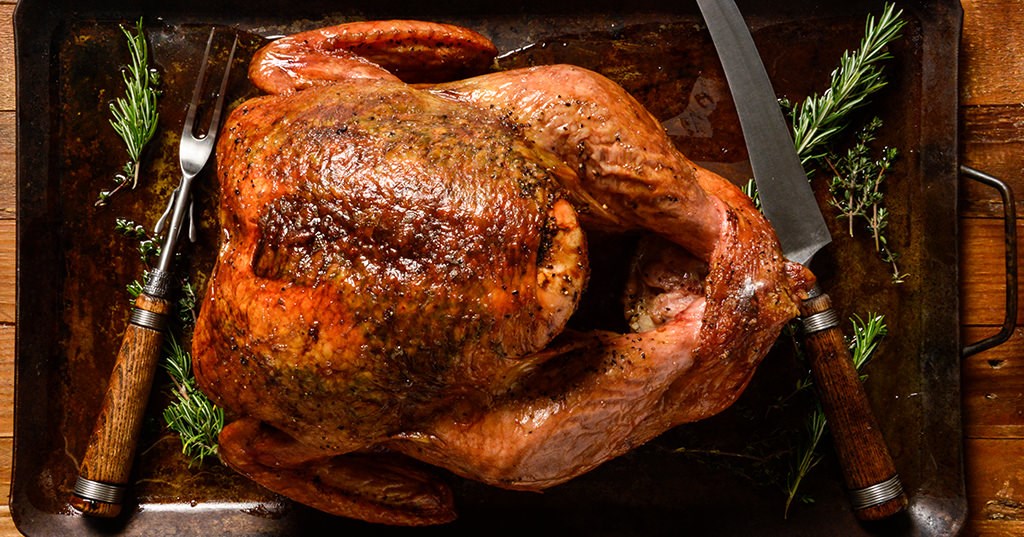
Another great option for cooking a turkey is using an outdoor smoker. This leaves the oven available for your rolls, sides, and pies! Traeger has a great tutorial for smoking a bird. Read about it here.
6. Carving a Turkey
After cooking, remove from the turkey from the oven and let the meat rest for 20-30 minutes. Then, it’s carving time.
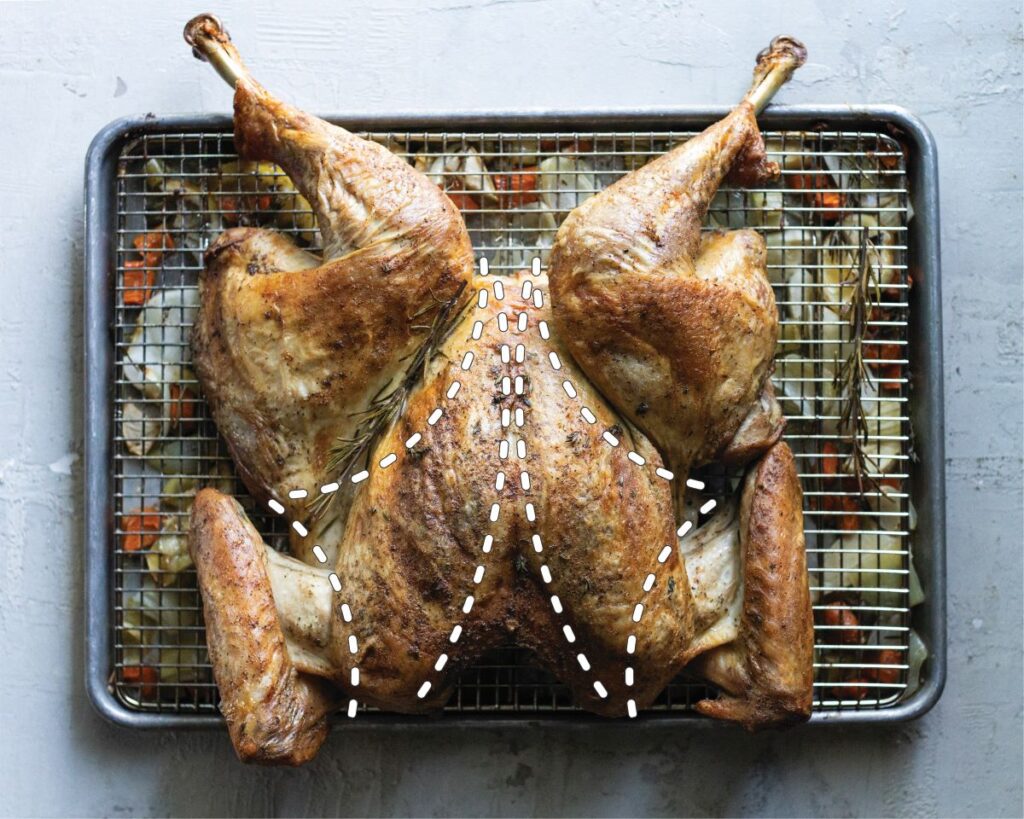
To carve a turkey, you’ll need a large, sturdy cutting board. This is a great option for turkeys over 15 pounds. For smaller turkeys, this board is sufficient. You’ll also need a carving set with a carving knife and fork. To carve, first remove the thighs and legs at the joint, and then remove the wings. Next, slice along the breastbone and carve out along the ribcage to remove the breast meat, being careful not to cut the ribcage. Then slice the thigh and breast meat into even slices, plate with the drumsticks and wings, and serve! Check out this blog post for more step-by-step instructions or follow the advice of Chef Mike from Wusthof and watch this video for a straightforward and easy carving tips.
Turkey Tools:
- Brining Kit
- Poultry Shears
- Sheet Pan & Cooling Rack or Roasting Pan
- Thermometer
- Carving Set
- Cutting Board
To learn all our Thanksgiving Tips, read our guide to Thanksgiving here.

