This crunchy, airy, sweet homemade confection has been at the top of our “must-learn” treats list. It’s fun to eat, fun to make, and could easily be a new tradition for your holiday season! You simply mix water, sugar, corn syrup, and vanilla in a pot and wait for it to heat up. Then the fun happens- by sifting in a little baking soda, you start a chemical reaction which causes the mixture to bubble up and creates all those delicate little bubbles, and the perfect crunchy texture.
Our friend John Neil is back (check out his buttercream centers recipe!) to share this new recipe with us. John is well-known in his circle for his hand-made and hand-dipped chocolates. If you’re gifted a box of his chocolates, you can be sure that every single chocolate was thought about with the highest of care from start to finish. The precision, creativity and passion he puts into his chocolates is evidenced the minute you open the box, and your satisfaction only rises as you taste each and every unique flavor combination. We hope to share MANY more of his recipes here. They’re just too good to keep hidden from the world.
We got to join him in his own kitchen (with his divinely patient wife and adorably unique girls!) to make some honeycomb together.
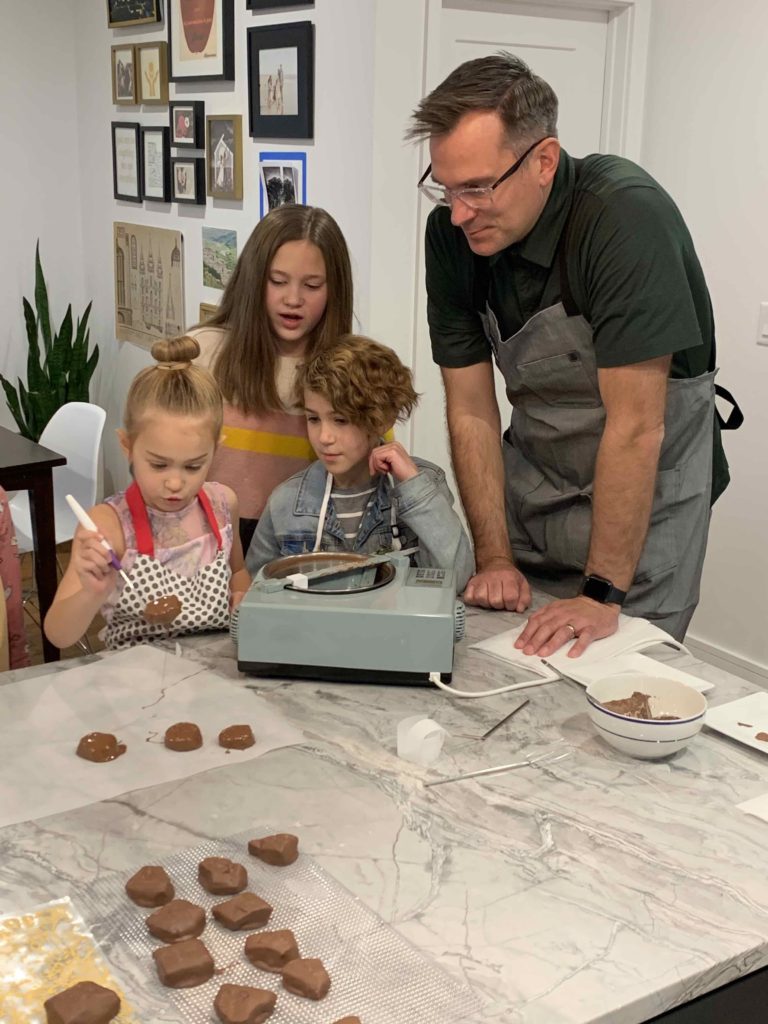
This year looks different for John as he isn’t mass producing his chocolates to keep things safe (#2020) but the tradition he learned from his mom and grandma is still alive this holiday season. Even though the batches are smaller, the passion and excitement is still there. We are all making some changes to our traditions this year, but for the Neil family, it’s not all bad. In fact, this was the first year his daughters did some dipping of their own. The next generation is now in training!
We hope you enjoy sharing the chocolate tradition with the Neil family. And embrace your own traditions (old + new) that center around feeling filled up with love and joy!
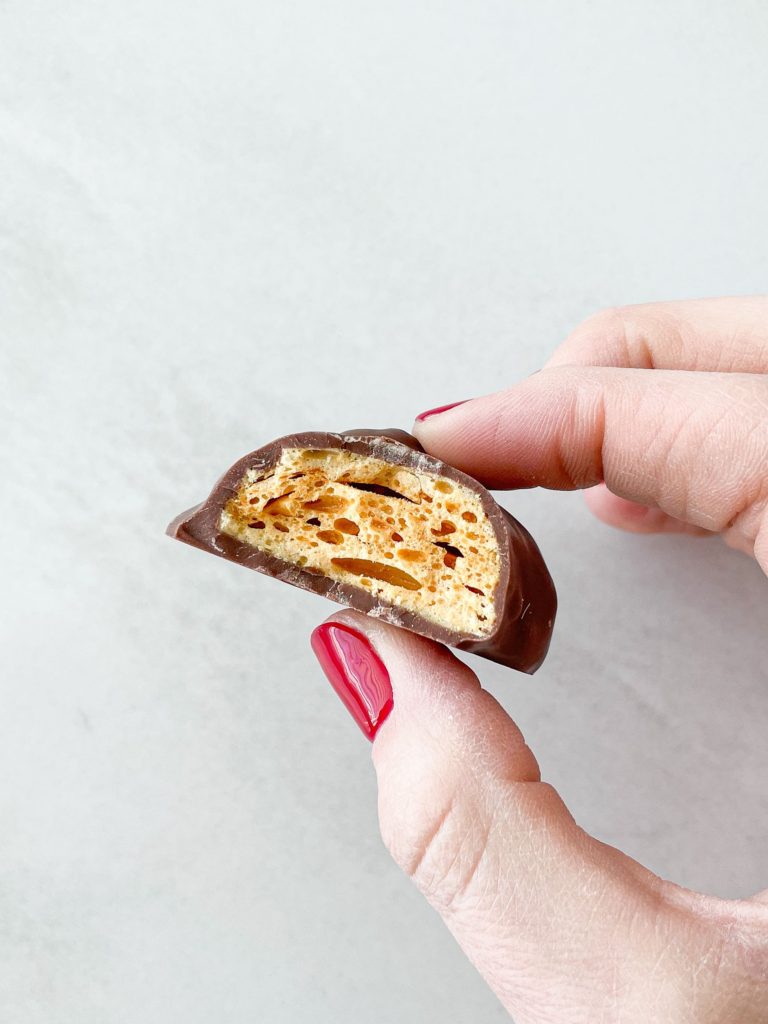
Irresistibly light and airy homemade candy Prepare a baking sheet by lining it with a piece of parchment paper. Use a deep saucepan (at least 6 qt) as the hot sugar will bubble up at the end of the recipe. Put saucepan on burner at medium heat, carefully pour in sugar, corn syrup, vanilla and water. Do not stir the ingredients to combine. They will all melt together as they cook. If stray sugar crystals are on the sides of the pan, use a wet pastry brush to water the down. Heat the mixture using a thermometer to 300 degrees F. This is known at the hard crack stage. Stay close to the pan as the temperature approaches 300 degrees, and remove the pan from the heat at 298 degrees. The mixture will continue to heat once off the stove. Remove from the heat, and using a fine mesh sieve, sift the baking powder into the sugar mixture. Stir quickly to incorporate the baking soda- don't over mix, just a quick (5 second) stir will do the trick. The mixture will start to turn a golden color. Once the toffee starts to thicken, pour it onto the parchment paper over the baking sheet. Don't stir or scrape the pan, just shake out as much as you can. You don't want to pop all those precious bubbles, so don't spread the mixture out, just leave it there to cool. If you want to score it, let it cool for 10 minutes, then use a bench scraper or spatula to gently indent the candy in a grid pattern. When it is totally cooled, you can break it into pieces. Store in an airtight container to keep it from getting sticky. Or dip it in delicious chocolate to finish it off! John likes dipping his in creamy, milk chocolate. But any chocolate will pair great with honeycomb. Homemade Honeycomb Candy
Ingredients
Instructions
Notes
Want to incorporate this tradition in your kitchen? Here are some ideas how:
- Rumor has it that hard candy started as a way to keep kids quiet during church services. You can include the kids in the making- and then keep them busy while they eat it. And the big bonus is that homemade candy entertains all ages!
- Homemade Honeycomb has many different names ( sea foam, puff candy, sponge toffee, hokey pokey.) Pick a favorite traditional food and learn more about it- learn its origins and variations found around the world. You might be surprised by how many people have the same tradition with a few simple variations!
- Honeycomb became very popular in the 1940’s because it uses very simple ingredients (pantry staples!) and is easy enough for kids to help with. Families were making all sorts of variations by adding nuts and other mix-ins. Challenge yourselves to make something new with food you’ve got lying around. No need to shop for anything extra, just make what you have on hand work. Include the kids and watch things get really interesting!




 (40 votes, average: 3.55 out of 5)

RACHEL
December 30, 2020 at 11:21 amSea foam is one of my most favorite candies! I’ve made it before and it wasn’t great. I’m excited to try this recipe. Hopefully it will become a Christmas time tradition.
P.S. I think you have a typo. On step 5 it says baking powder instead of baking soda.
Alice Slaughter
December 28, 2020 at 7:05 pmI have been making this for decades and was supposed to teach others this year but, well, we all know what happened to large gatherings… Glad to see someone else around here actually knows what it is! lol
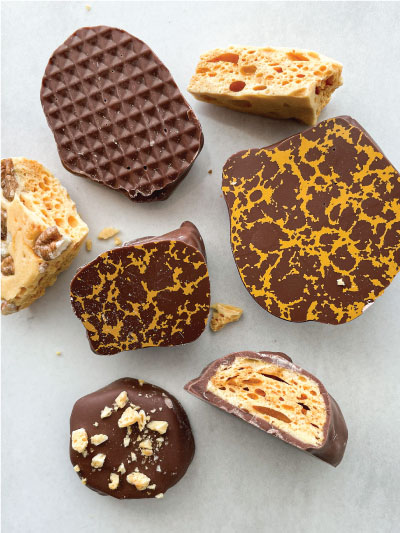
Being a Canadian I grew up with “Crunchie” bars. As a little kid I could go to the candy counter and buy a 4″ square of plain sea foam for a nickel. Since moving to the USA almost 20 years ago I had to make my own. Good thing I already knew how but, wow, look at the pretty chocolate covered ones in your photo! It makes me want to upgrade!
connie
February 13, 2021 at 5:31 pmWe love hearing about your traditions with this tasty treat! Hopefully one day soon people can gather in your kitchen again, because teaching the art of honeycomb is one of the kindest things you could do!
Kelly
December 18, 2020 at 10:11 amAfter a honeycomb toffee fail last year, I was so happy to see this pop up on IG! I’m defintely going to try them again. Does Orson Gygi sell the cocoa butter transfer sheets John used in the video? They were so cool!