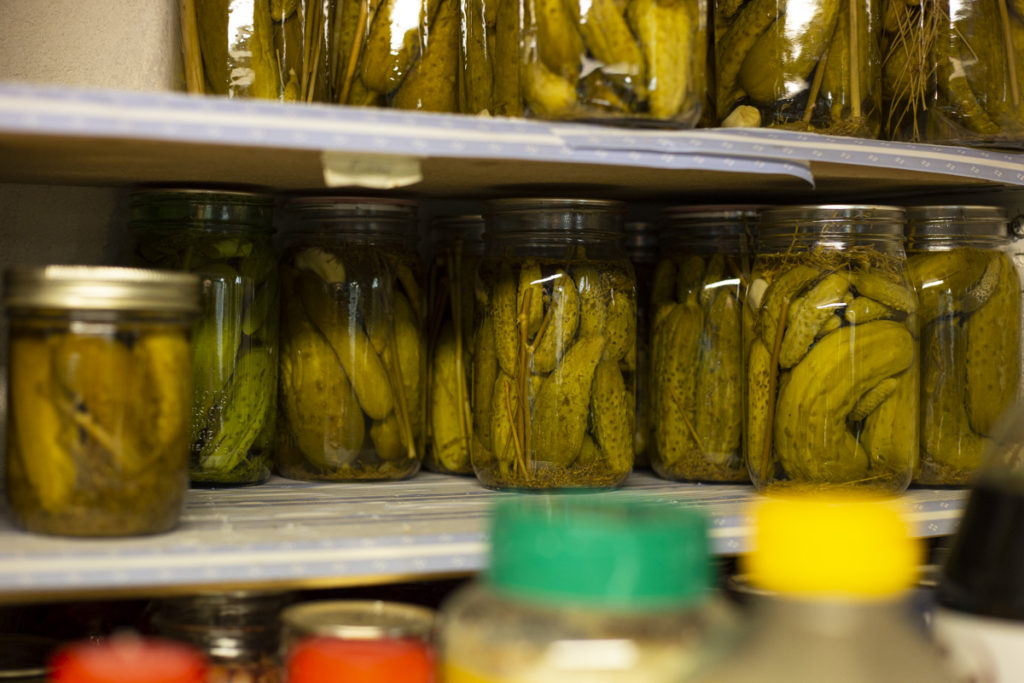
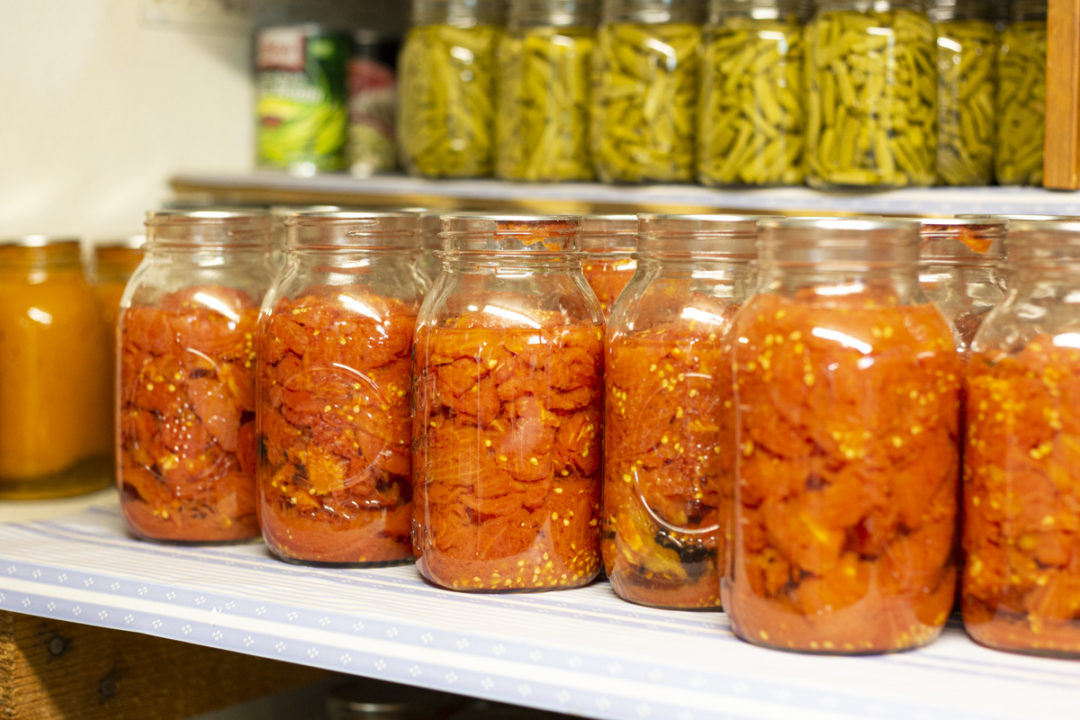
Home canning?! It can be a little scary and overwhelming. We totally understand. We were there too and are here to help in any way we CAN. (Get it?) Home canning methods used to be a necessary end-of-summer activity to preserve the garden bounty through the winter. Now home canners keep up the tradition not out of necessity, but for the pleasure of making fresh-tasting sauces, salsas, jams, and jellies. And as a hobby canner, usually the most stressful part of the process is the very last step–sterilizing and sealing your jars of food. If you don’t get it right, your food could be ruined or make you sick.
Why Do Canning?
The main purpose of canning is to destroy the microorganisms that could get people sick and inactivate the enzymes that could cause food to spoil. During the canning process, the air gets driven from the jar during heating, and a vacuum seal forms as it cools, so air cannot get in and recontaminate the food. It is important to follow the rules of research-based canning to make sure food gets preserved safely.
Three Types of Home Canning
There are three main ways of canning, depending on the type of food being processed. These include the water bath method, pressure canning method, and atmospheric steam canning method. Here is a general breakdown for each method.
Water Bath Canning
Water bath canning is safe for high-acid foods with a pH of 4.6 or lower because the spores can’t grow to produce the harmful toxin. These acidic foods include most fruits, pickles, jams, jellies, and even some tomato applications. For this method, jars of food are heated and sealed by being completely covered in boiling water. It does take a lot of water and energy to do water bath canning. But it is a tried and true method that is a little less intimidating.
Pressure Canning
Because of the danger of botulism, pressure canning is the only safe method for canning low-acid foods (those with a pH of more than 4.6). This includes meats, poultry, seafood, and vegetables. These foods MUST be canned in a pressure canner. This is because temperatures must reach a minimum of 240℉, something that can only be achieved in a pressure canner. The good news is a pressure canner only requires a couple of inches of water in the bottom of the canner.
Atmospheric Steam Canning
Just as with a water bath, the steam canner works only for high-acid foods including most fruits, preserves, and pickled vegetables. Steam canning is NOT for low-acid foods like meats and most vegetables. It is very much like a combination of water bath canning and pressure canning. For this method, jars sit in a rack above a small reservoir of water. The domed lid traps the steam from the boiling water so that the canner reaches processing temperatures a lot quicker and with less energy.
Even though we grew up watching our grandmothers can, we are still relatively new to canning. It can feel like a lot of information to process all at once. But the truth is, canning has been around for hundreds of years. And really, once you get started, it isn’t that difficult. If you want more canning information, you can check out the Ball website or the canning resources at your local extension. Ours for Salt Lake City is the USU extension, and that is where we got much of our information about canning. Next up we will outline the specialty tools you need to get started with home canning and take a deeper look at each one of these home canning methods.
