Ready to try your hand at making the perfect smash burger? This is not a culinary feat you want to start and then walk away from. These burgers cook up fast! So get ready to man that griddle. Because while the method is relatively simple, there are a few things you will want to do for the perfect patty. And through a bit of trial-and-error (and almost setting off the smoke alarms), we discovered a few tips that will help you get the perfect crust and perfect flavor.
Assemble the Tools
Part of the fun of making smash burgers is all the good tools. First, you need a flat cooking surface like a cast-iron skillet or griddle that will maintain the high heat and brown the meat evenly. Then you need something heavy and flat to help smash your beef. You can use a spatula or something like a Norpro grill press for a thinner patty. We also found that the wax patty paper was a lifesaver. Not only does it hold the prepared meat so you can keep your hands clean, but also keeps the meat from sticking to the press when you smash them (only had to make that mistake once).
Choose the Right Beef
Several things contribute to the taste–the most crucial being the type of meat you choose. Starting with high-grade ground beef at a higher fat percentage (20-25%) is the first building block. If you can grind your own meat, that will easily be the best. But store-bought ground beef is good too. Just make sure you work with a higher fat percentage to help you maintain more of that flavor and moisture. We recommend 80/20 for the best searing and crust. You could possibly work with 85/15 and lower, but you will not have the same results.
Form Loose Balls
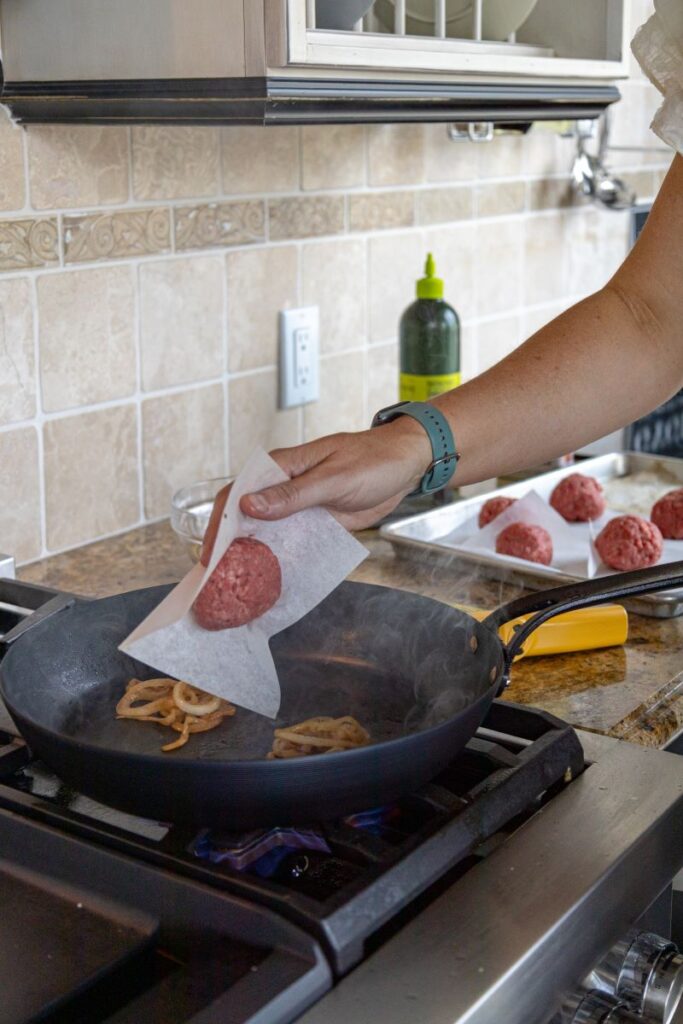
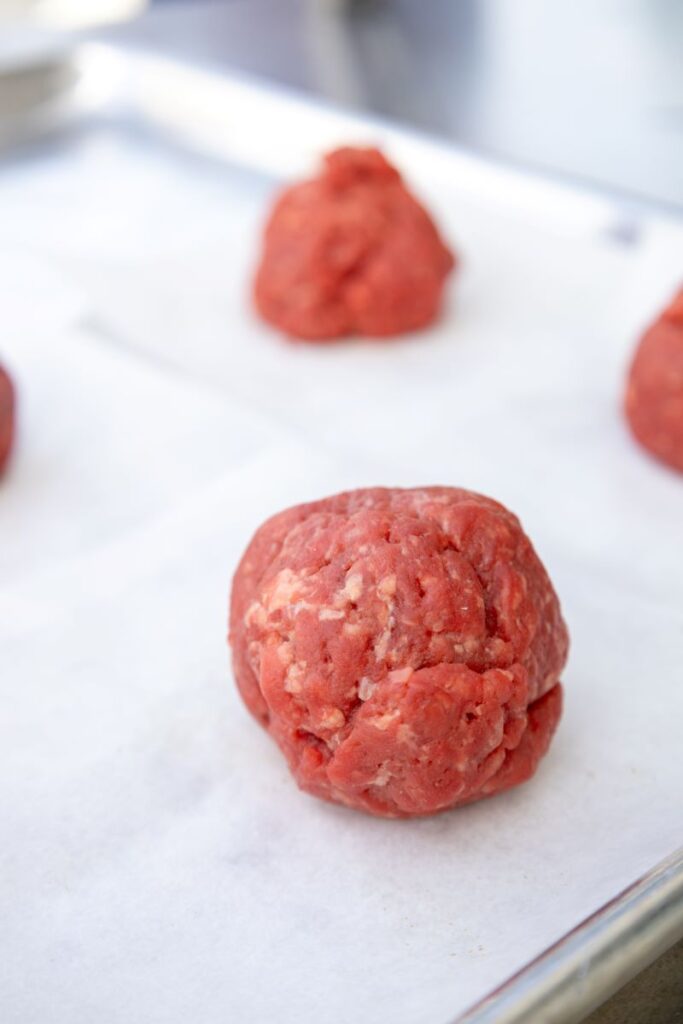
You don’t want to handle your meat too much. And you don’t need to shape and form these balls too tight. Keep it loose. We can’t stress this enough. It will be easier to smash (so you don’t push out so many juices) and it will give you that craggy, crispy edge that is iconic for a smash burger. Once you have prepared the meat, put it back in the fridge to keep it chill (especially on a hot, hot day). You want that fat nice and cold so it stays solid when it hits the griddle.
Preheat a Hot, Hot Surface
You want that burger to start cooking and browning immediately. That is what sears the edges and seals in the rest of the moisture. So you want that cooking surface to be screaming hot before you slap down that first patty.
Do a Quick Smash
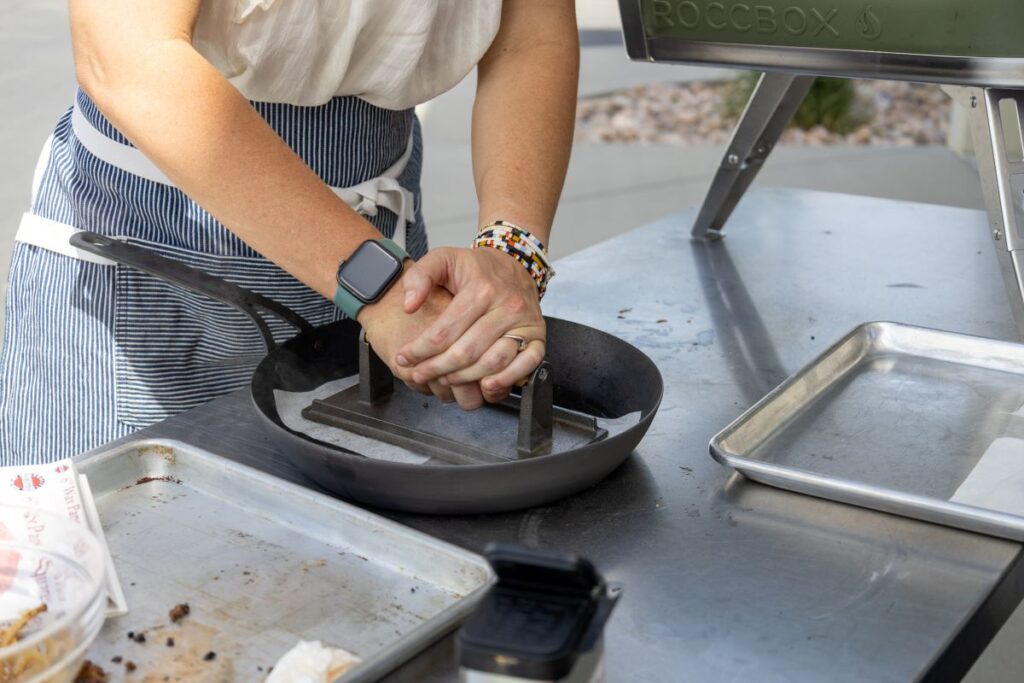
Smashing down on the patty within the first 30 seconds of it hitting the hot skillet ensures maximum juiciness. So be prepared to move fast! The strategy works because in cold ground beef, the fats are still solid. And pressing down while the meat is cold loses very minimal liquid. After those first 30 seconds, you will want to minimize smashing so that the juices stay right where they are.
Now Sprinkle the Seasonings
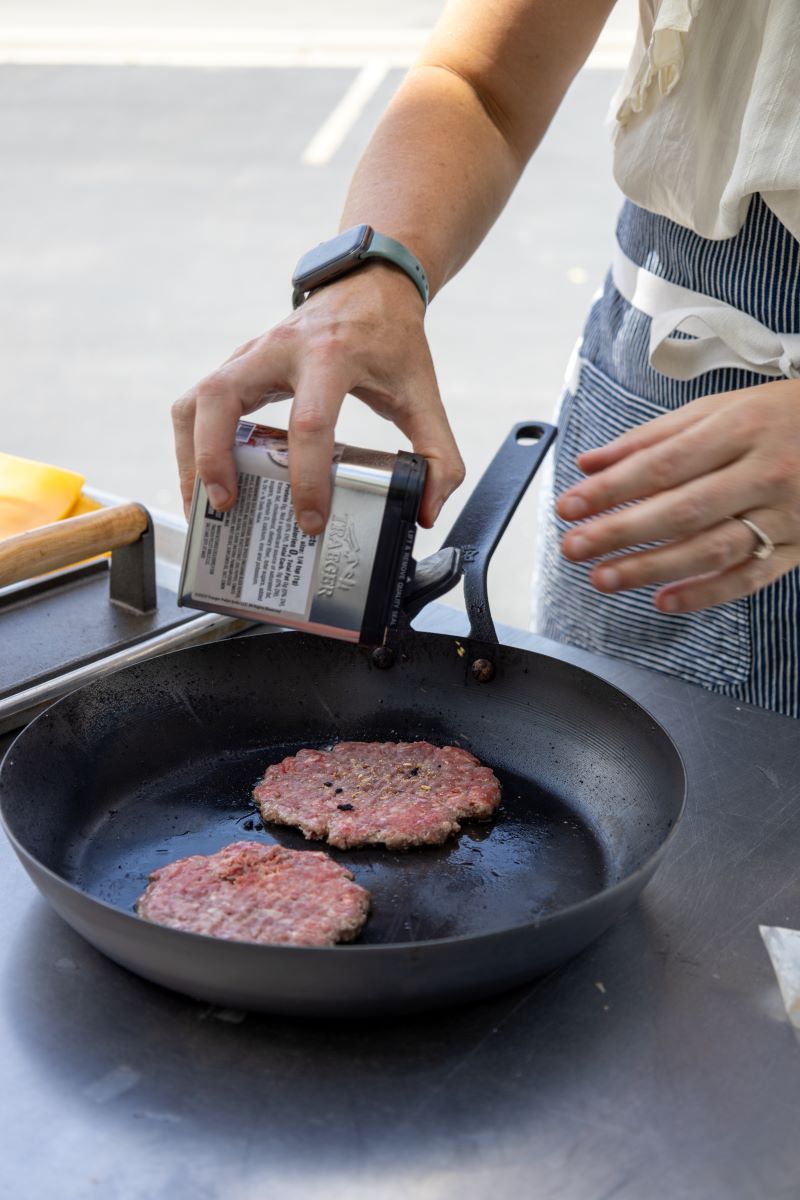
You can add the seasonings to the meat before you shape it into balls, but we found that sprinkling a generous amount on top right after smashing it produced the best amount of flavor. Because once you flip that patty over those seasonings crisp and cook up along with the fat to help make the crispy crust. Yes!
Use a Firm, Flat Spatula
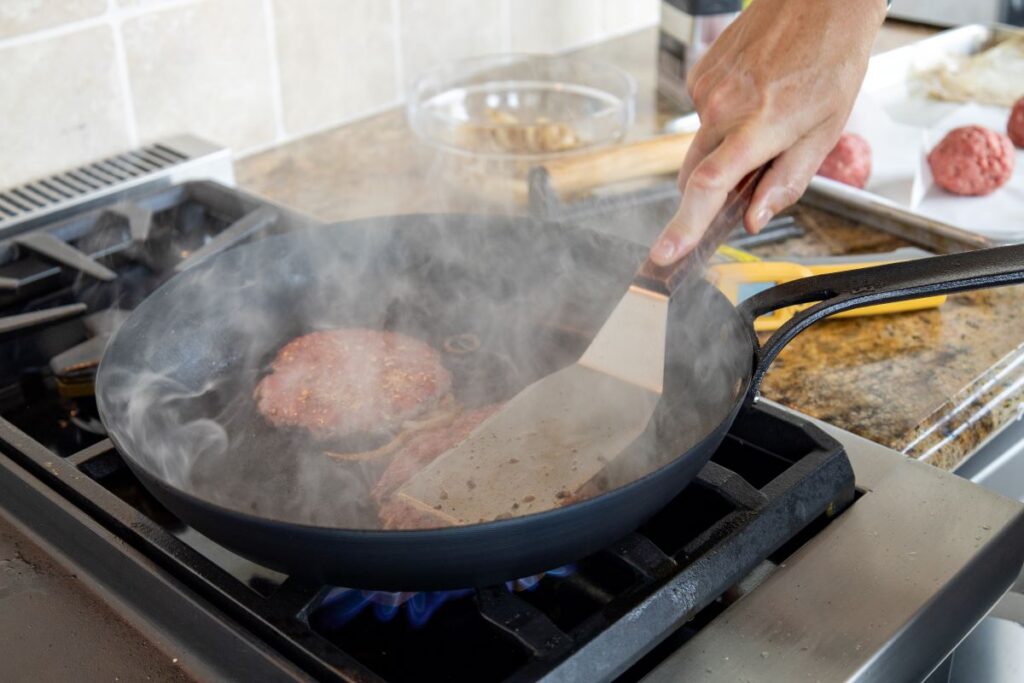
Scraping the bottom of the skillet or griddle is key! This allows you to get every little last bit of yummy crust off of that pan. The browning is what makes this patty taste good, and only a heavy-duty spatula will do. We used this one for our burgers. It is strong enough for smashing, but also tough enough for snatching up all that crusty, crispy goodness.
That’s it! Have your bun and various toppings ready and you are good to go. Top that hot patty with cheese and caramelized onions, or simply move it over to your bun with lettuce, tomato, and your favorite sauce. Then prepare yourself for an amazing meal.
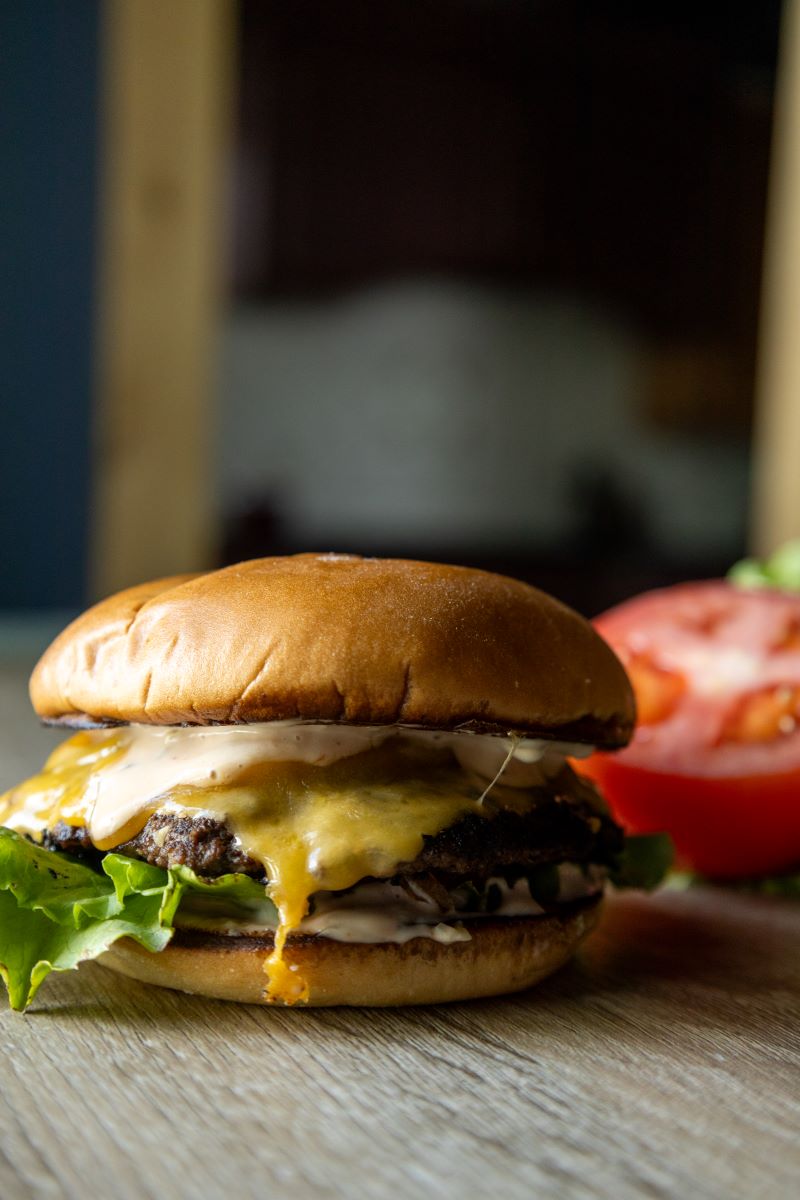
Admittedly, we were skeptical about trying smash burgers at first. There was no way we were going to like it better than a traditional patty. But those first few bites had us singing a different tune. The burger was crispy, juicy, melty, and delicious. And bonus points that it only took a couple of minutes to make. We can’t wait to take these tips home with us and give them a go in our own kitchens. What do you think? Is this something you are ready to try for your next summer cookout?

