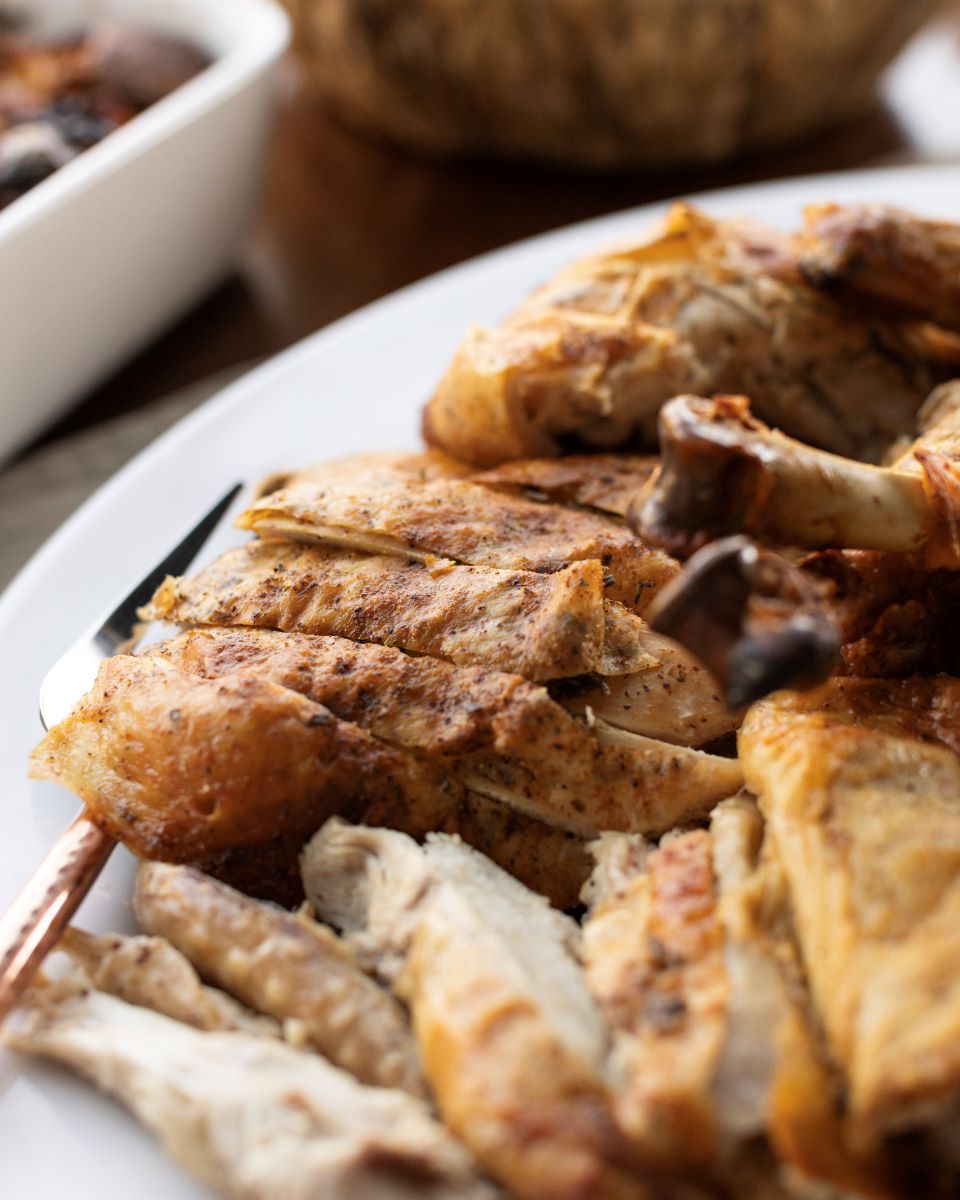
Carving a turkey can be daunting on its own, let alone when you have to do it in front of a table full of hungry people. Which is why we often pass this task off to Brad the Dad. But this year we decided it was time to tackle the responsibility ourselves. So we had Cass, our class manager, slowly walk us through the entire process. We were surprised to find that with the right technique and tools, carving the turkey was pretty straightforward. And we know you too can impress your guests by maximizing the amount of meat you get off the bones. Here’s the step-by-step guide we will use from now on to carve a turkey like a pro:
1. Gather Your Tools
It’s the Gygi kitchen, which means every task should start by assembling all the right tools. To carve a turkey you will need a sharp carving knife, a carving fork, a sturdy cutting board, and your serving platter of choice.
2. Position the Turkey
Place the turkey breast side up on the cutting board. If it has a pop up timer, remove it. Also remove the twine if you trussed your turkey and make sure the legs are pointing towards you for easy access.
3. Remove the Legs
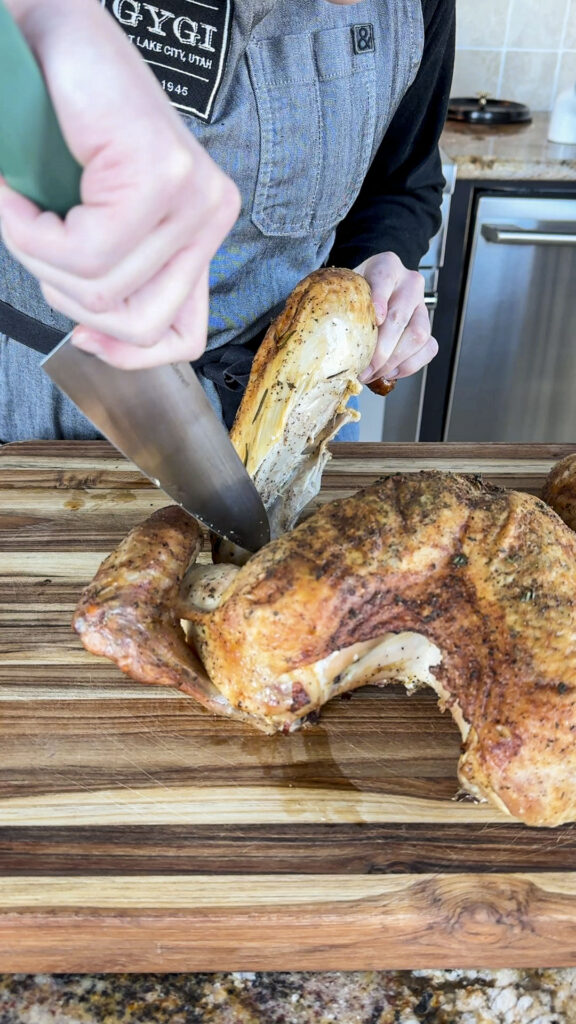
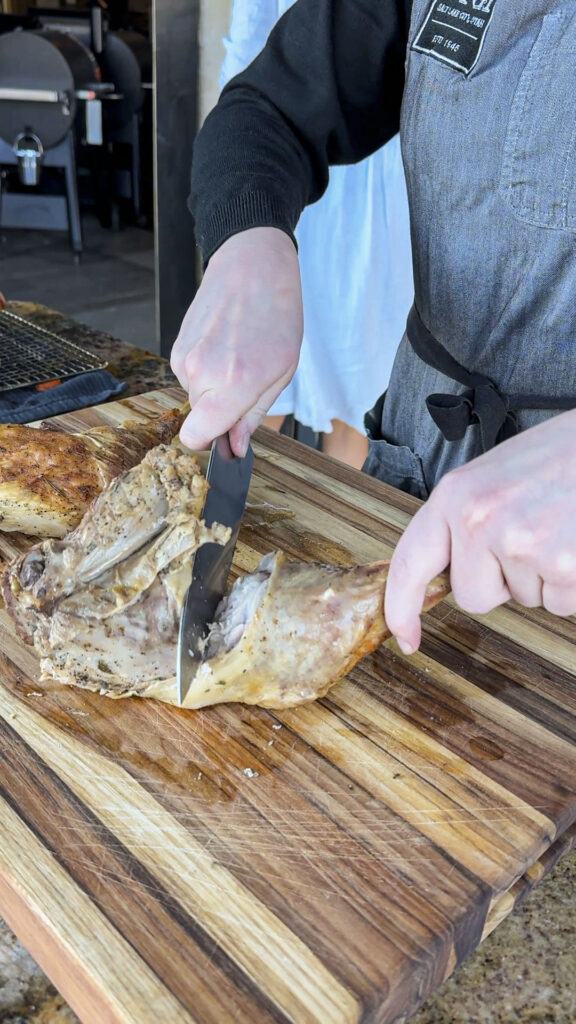
Use the knife to cut through the skin between the leg and the body. Pull the leg away from the body until you feel the joint pop, then cut through the joint to detach completely. Repeat with the other leg. Then place the leg skin-side down, find the joint between the thigh and the drumstick, and use the knife to separate them.
4. Remove & Separate the Wings
Follow the same method to cut through the skin and detach the wings. Then find the wing joint and separate the pieces.
5. Carve Out the Breasts
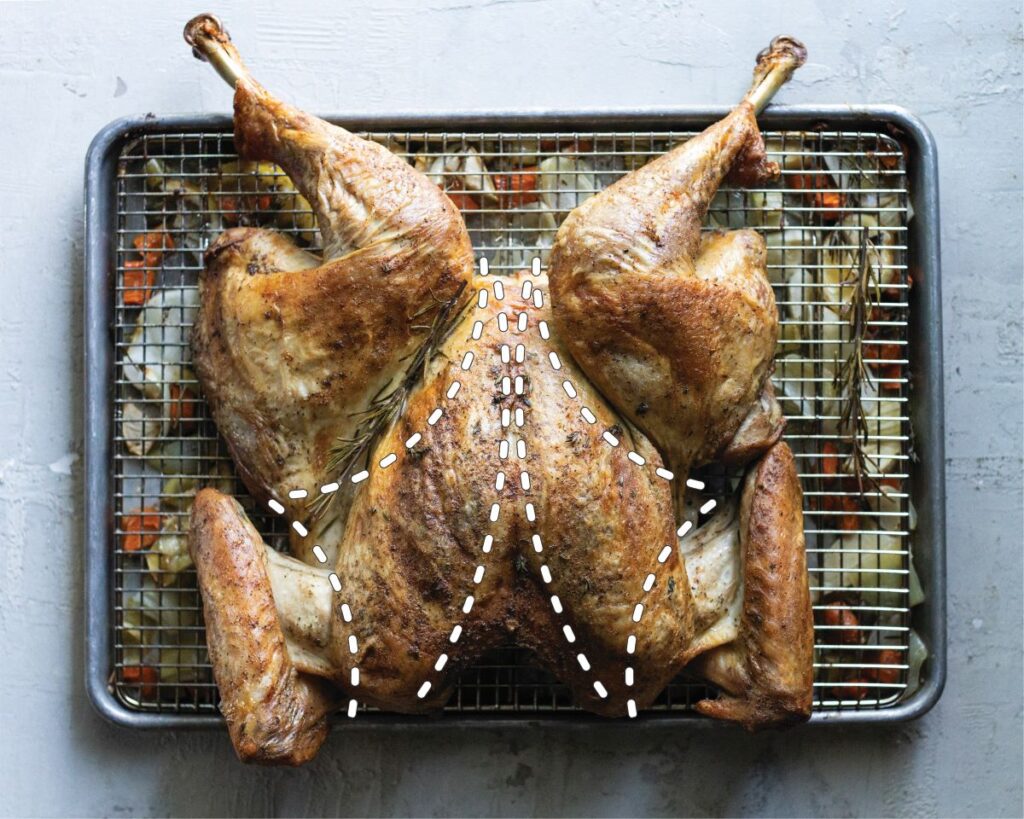
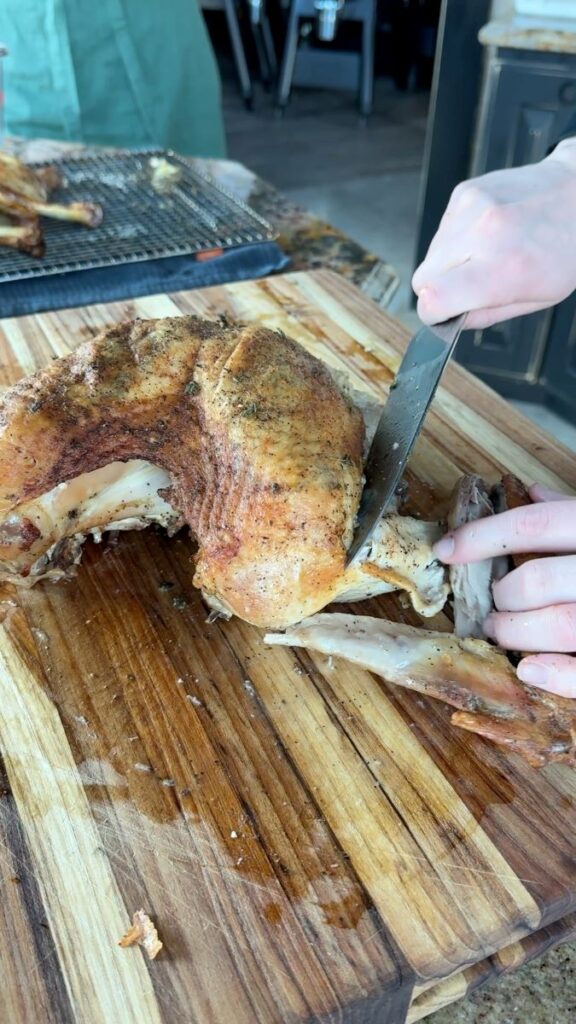
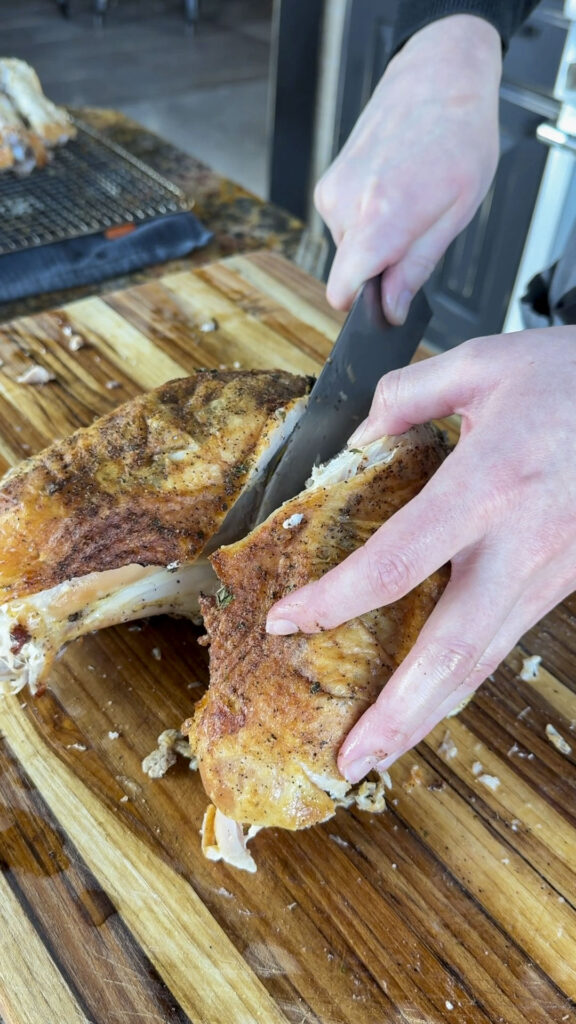
Starting at the breastbone (it should be super easy to find if you poke around a little with the knife), make a long, even cut down the side of the breast. Then slice downward using the bone of the ribcage as a guide. Continue slicing until you reach the bottom of the breast and remove. Be careful to avoid cutting the ribcage. Repeat on the other side.
6. Slice Breast & Thigh Meat
With all the main parts removed, it’s time to slice the meat into thick or thin pieces. Start by peeling and carving the thigh meat away from the bone, then slice. Next, place the breasts skin-side up and slice into thin, even slices.
7. Save the Carcass
Don’t throw it away. Put it in a ziplock and store it in your freezer. You can use the remaining carcass and bones to make a delicious turkey stock. When you are ready, just throw it all into a stock pot with some veggies, herbs, and water, and boil it all down. It’s a great way to help minimize waste and prep for future meals.
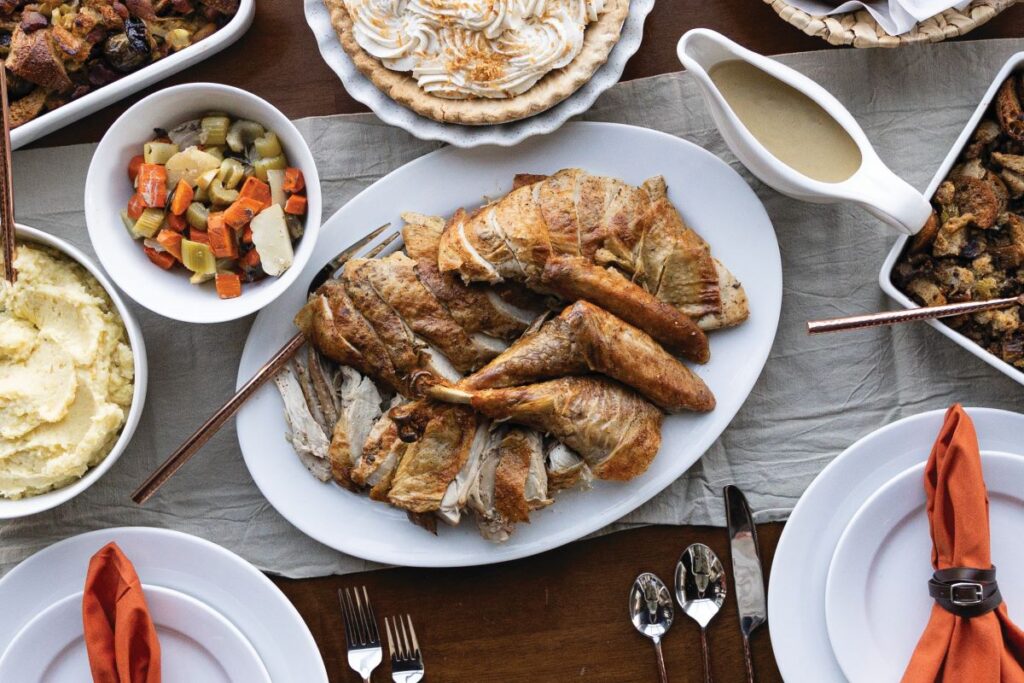
8. Plate & Serve
Arrange all your carved meat onto your serving platter with the drumsticks and wings and garnish with fresh cranberries or herbs for a festive touch. Now your drool-worthy turkey is ready to serve.
With practice, you will feel more and more confident in your carving skills. And your beautifully presented turkey will be the highlight of your holiday feast! Don’t be shocked if you suddenly get asked to carve every holiday turkey from now on. Yes, you can carve a turkey!
If you’re interested in seeing the process firsthand, check out our Youtube video.

